I have moved more towards street photography lately and i gotta say it’s something else. Like a whole new dimension of photography that i am constantly discovering.
And because of that I had to adapt some kind of technique to help me being confident of what I’m doing.
I am absolutely in love with chest level photography. And today I wanted to show you how I do it and what can you do to improve it.
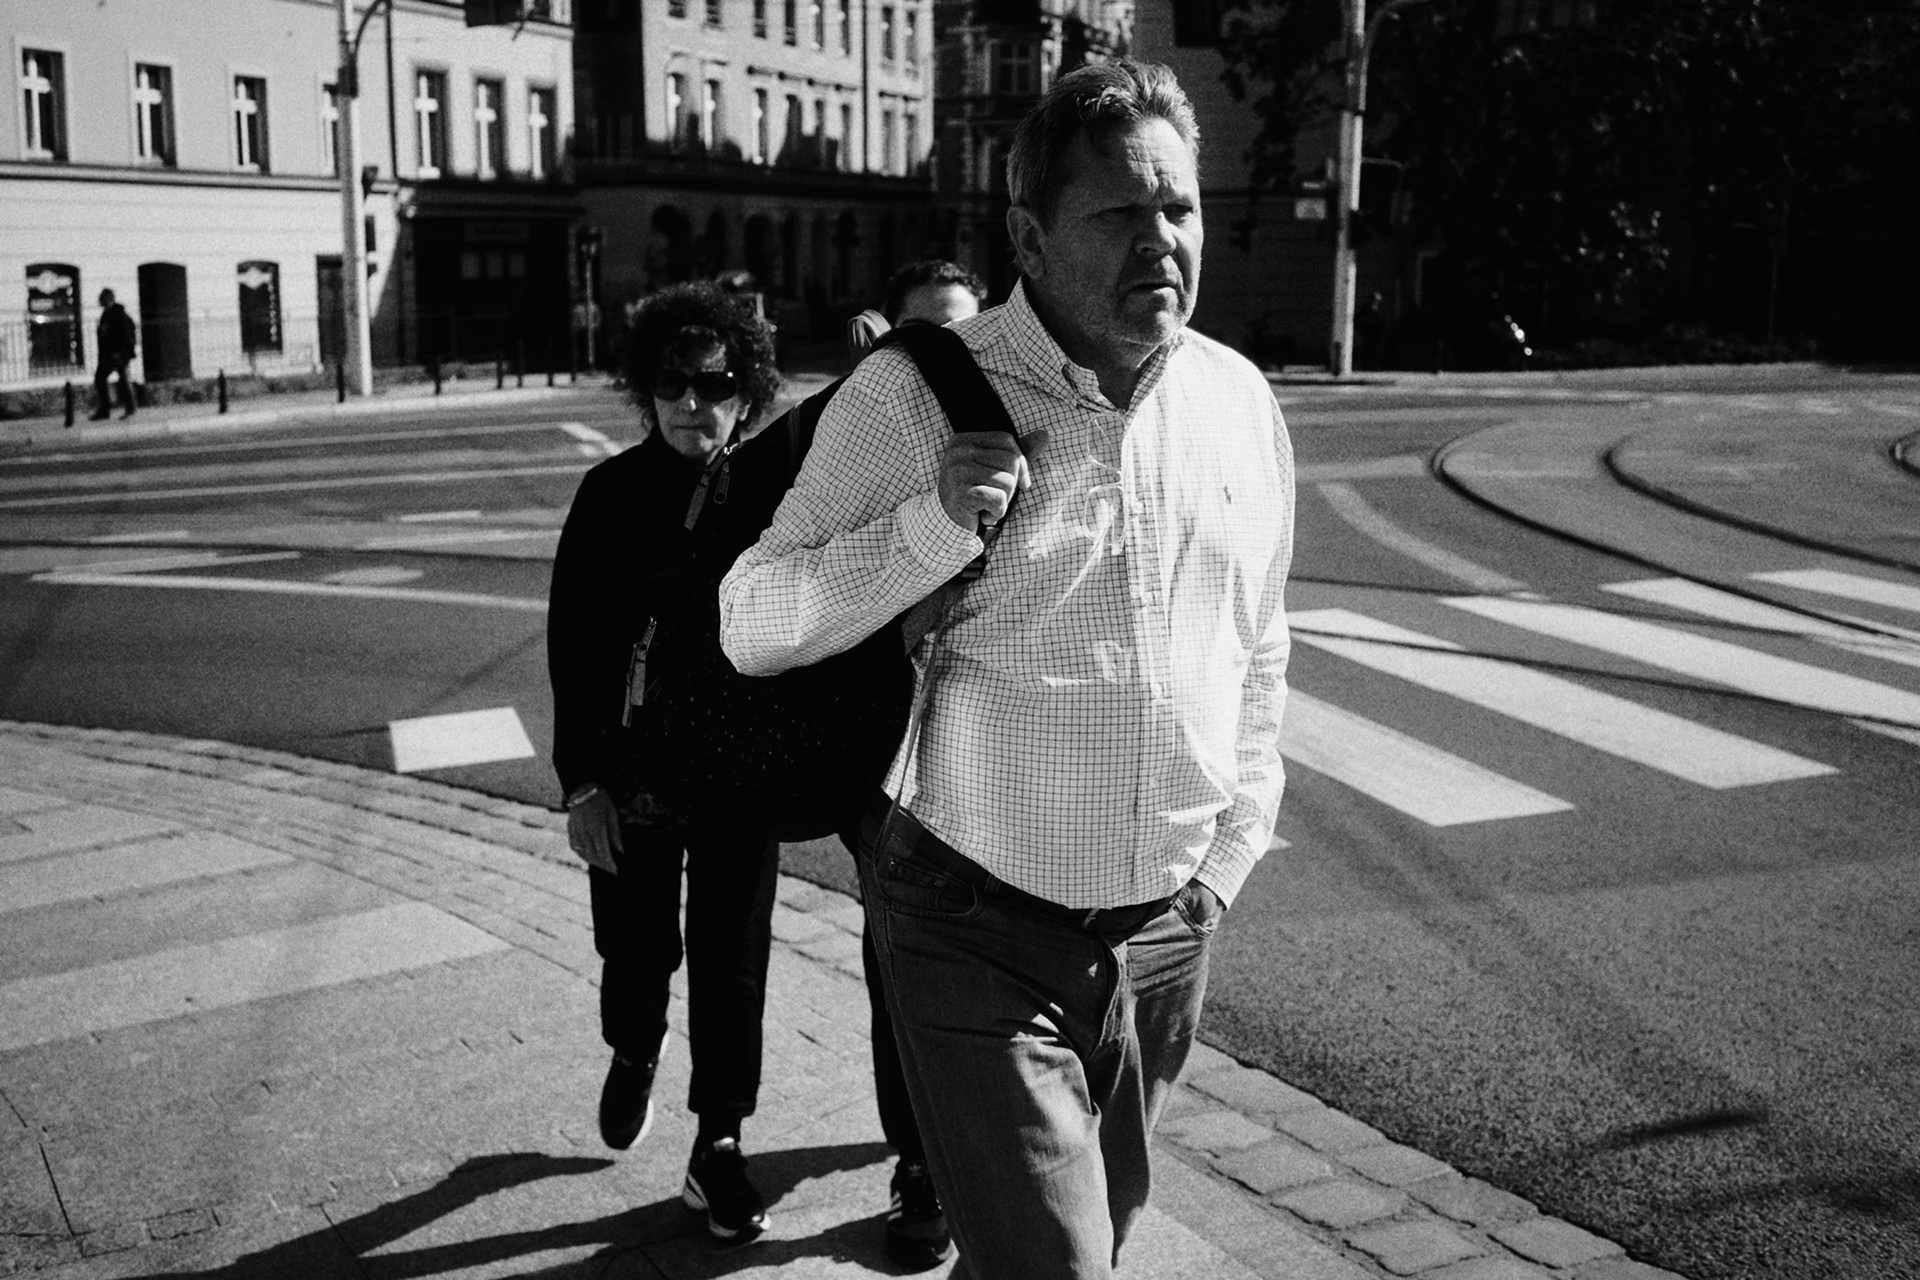
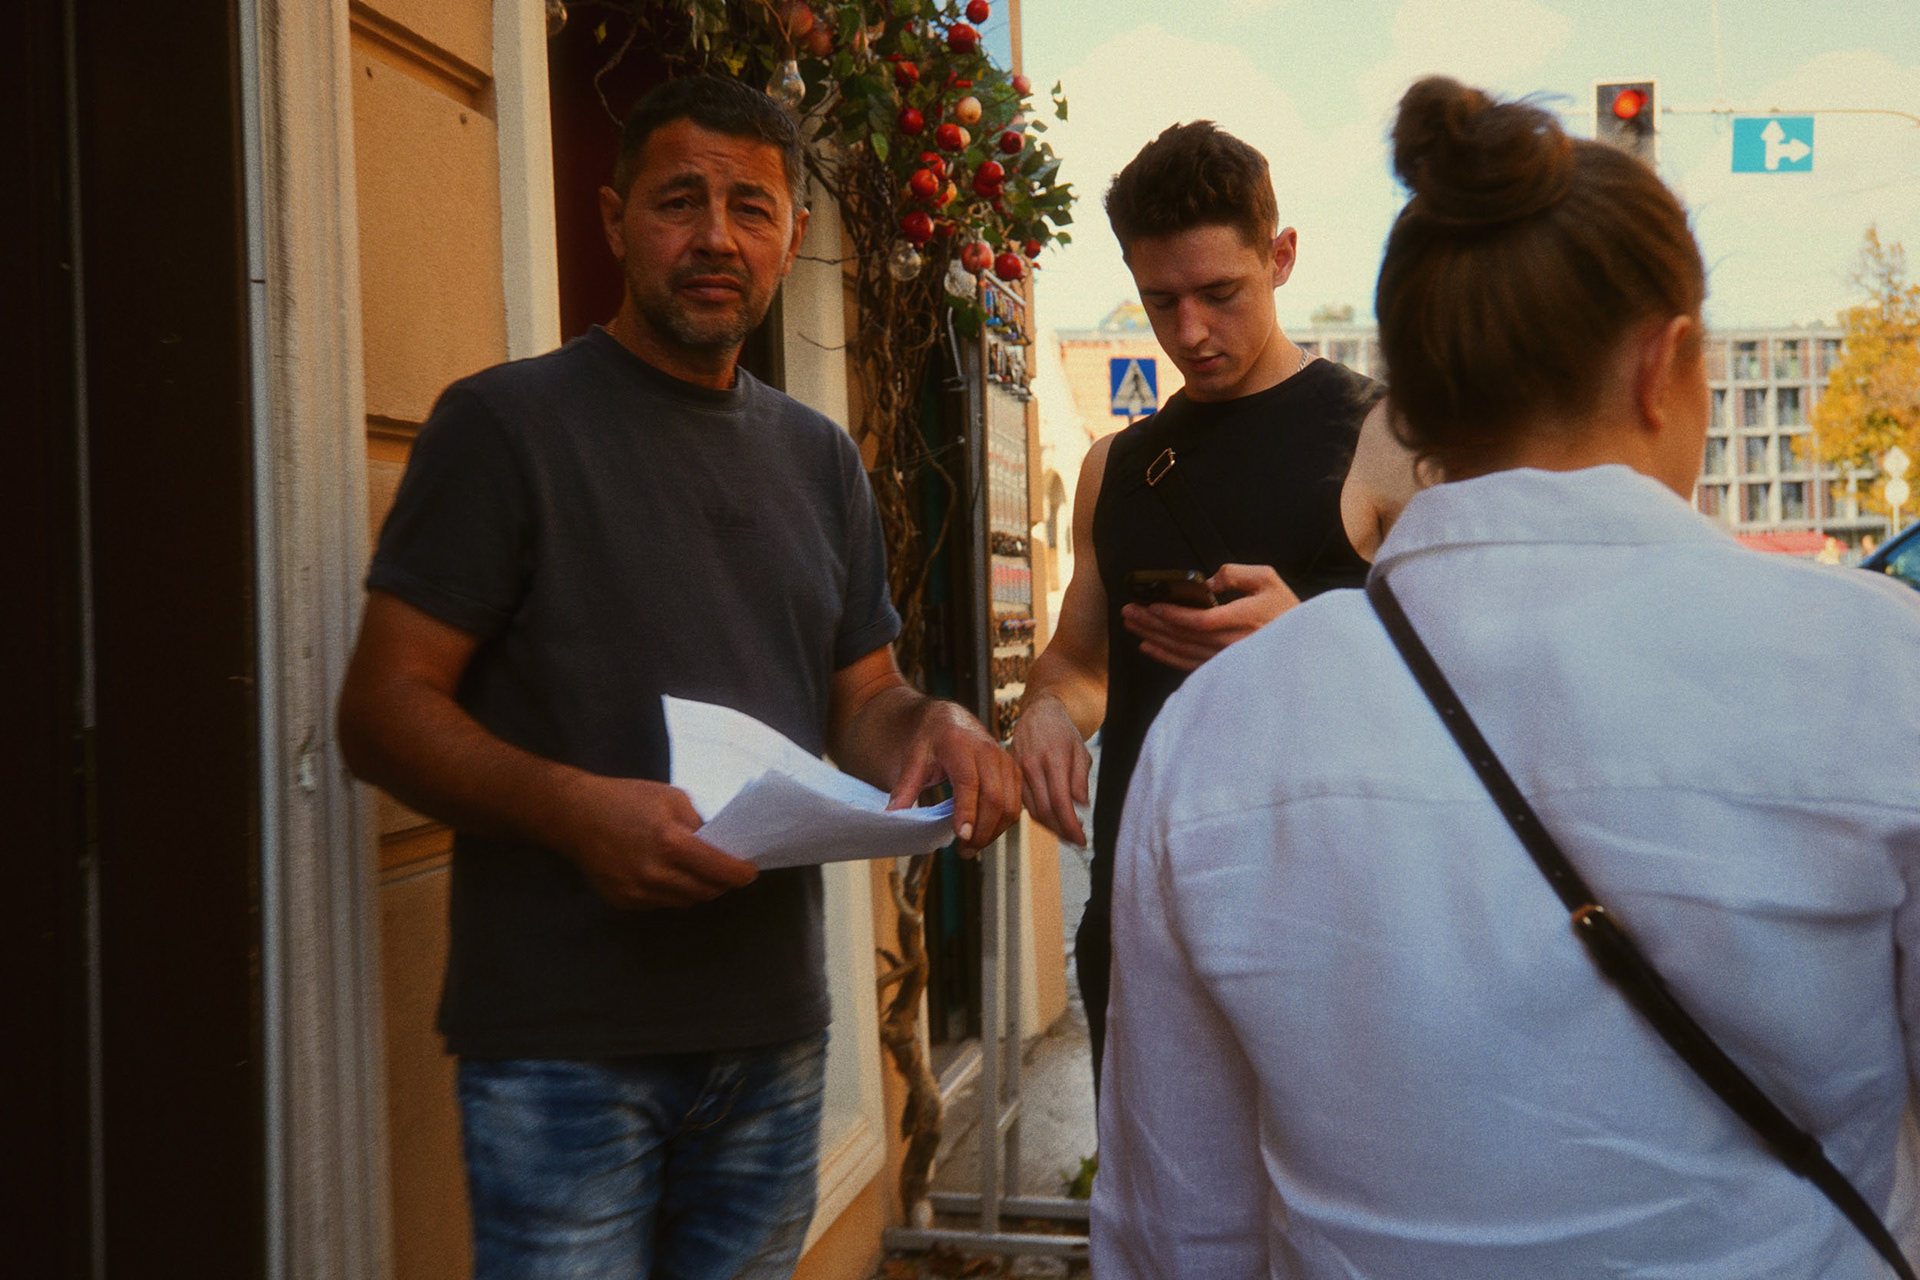
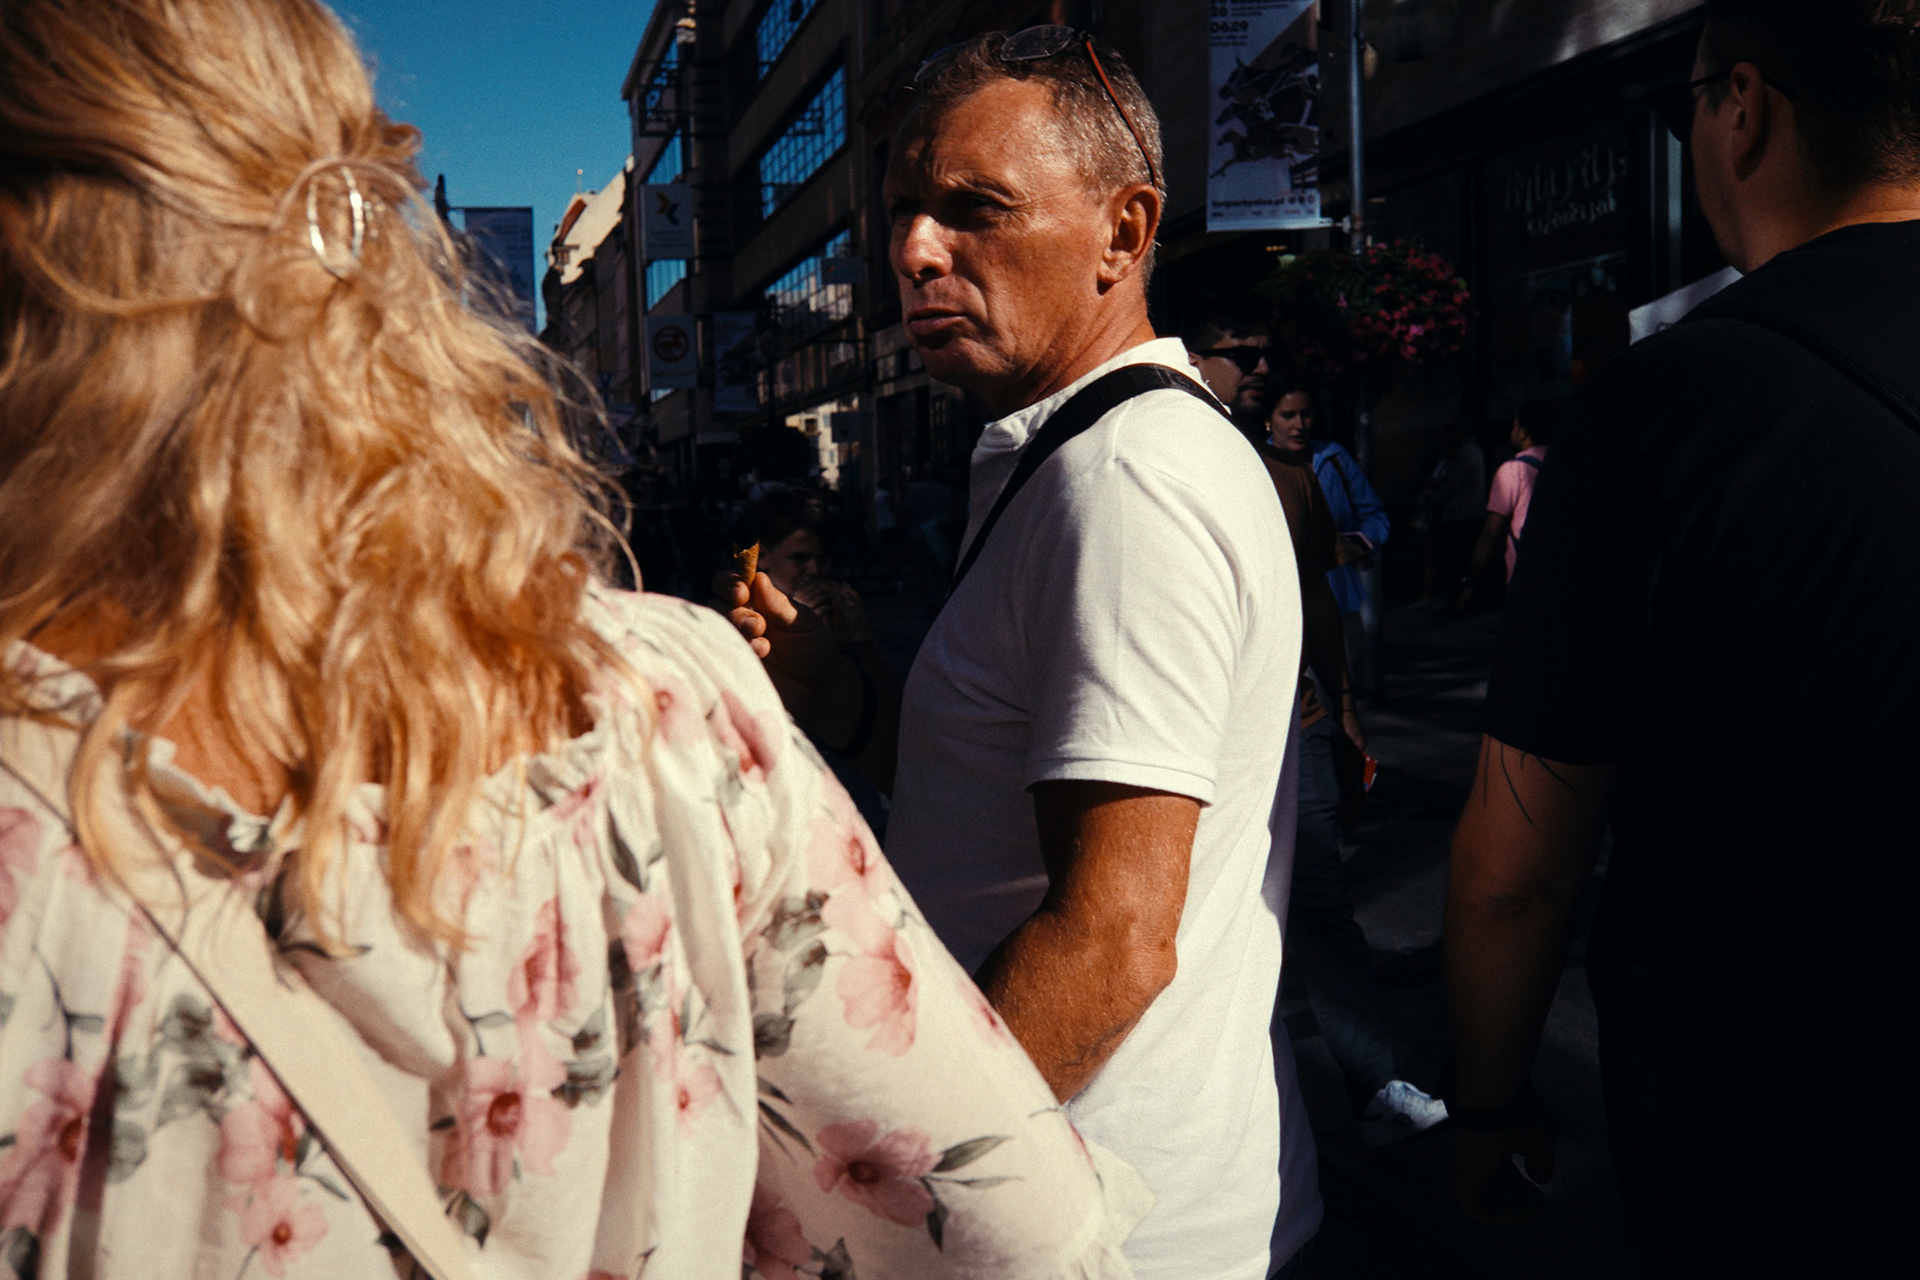
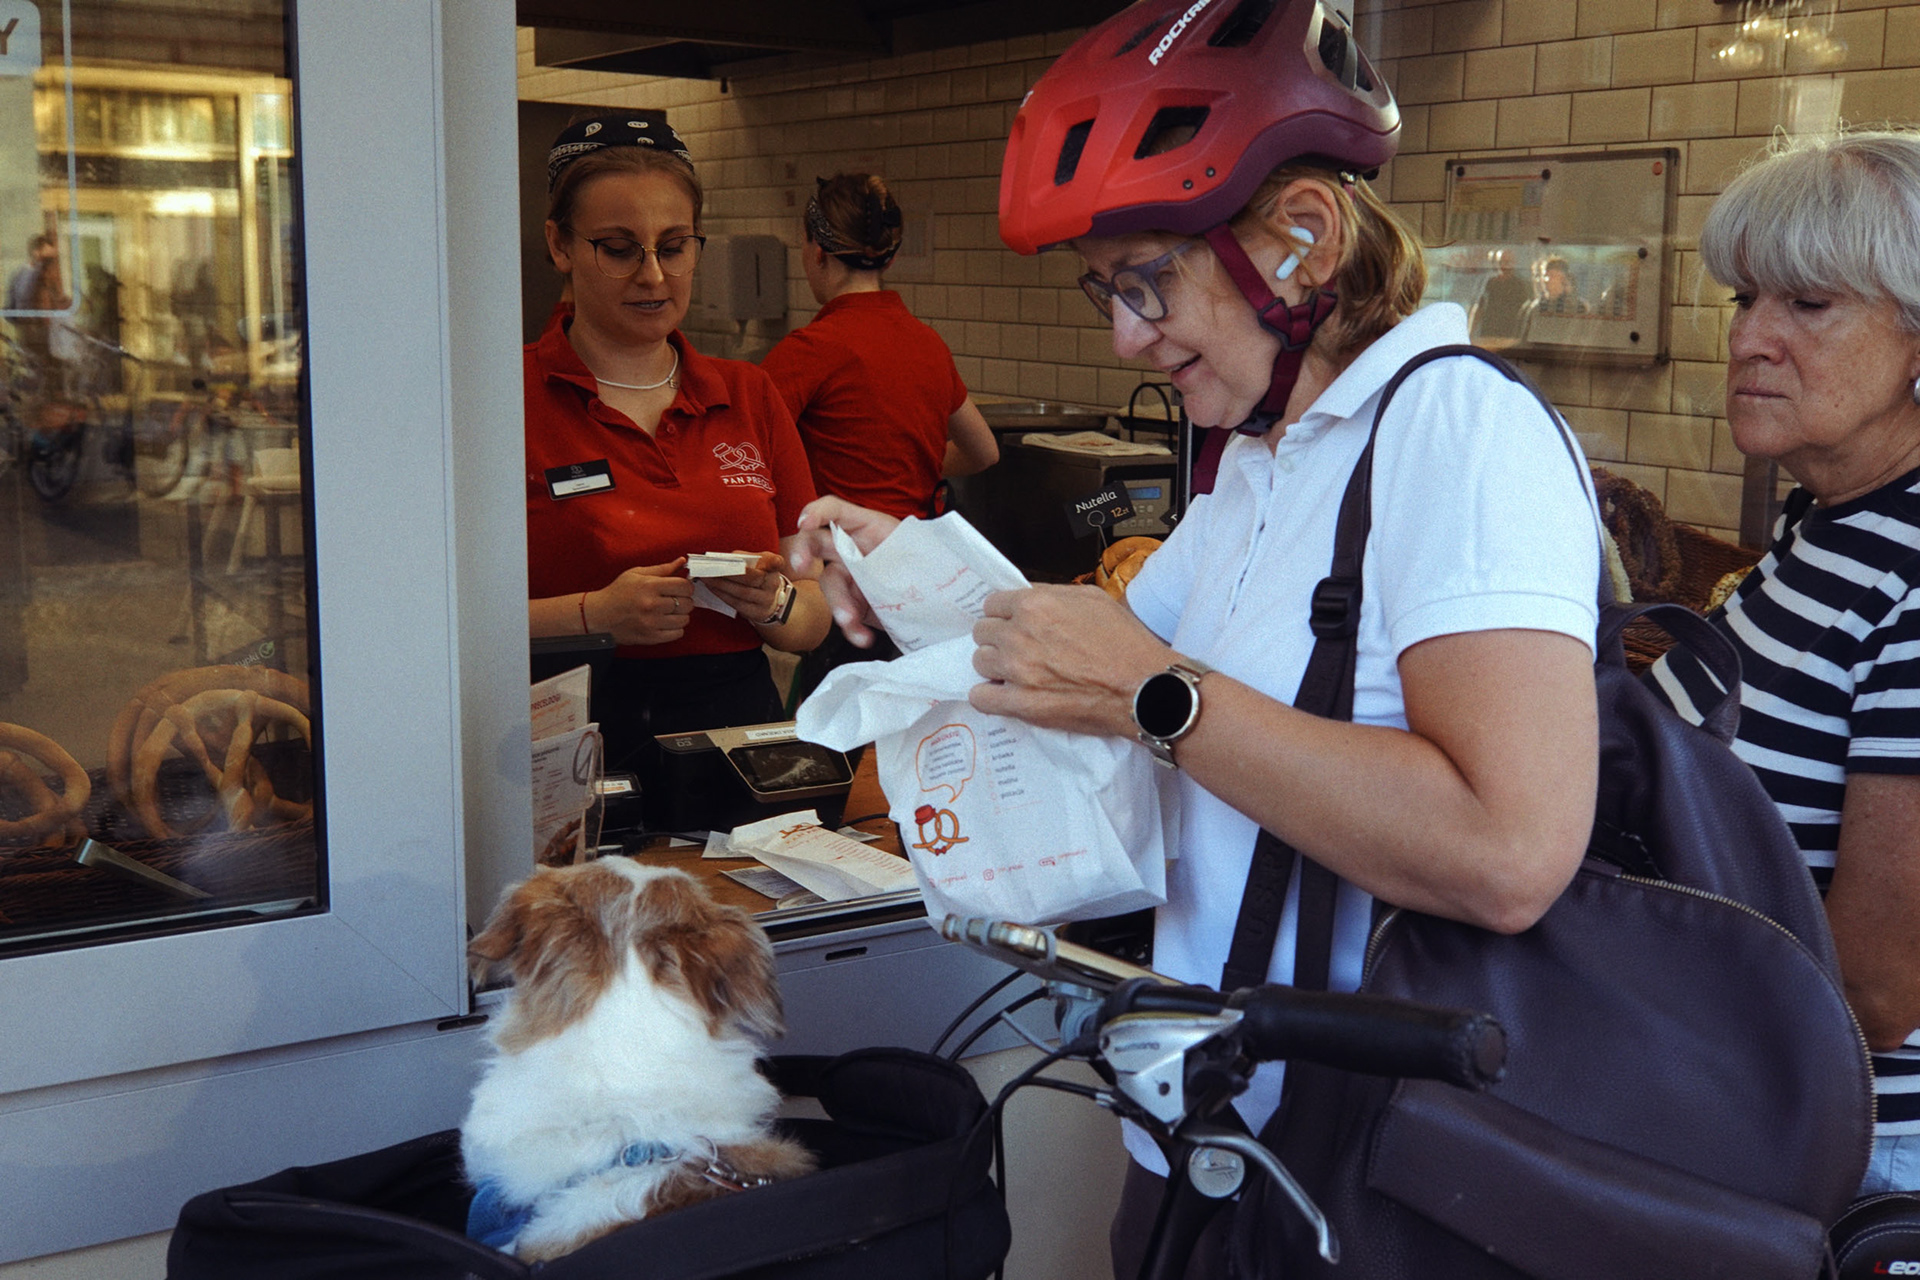
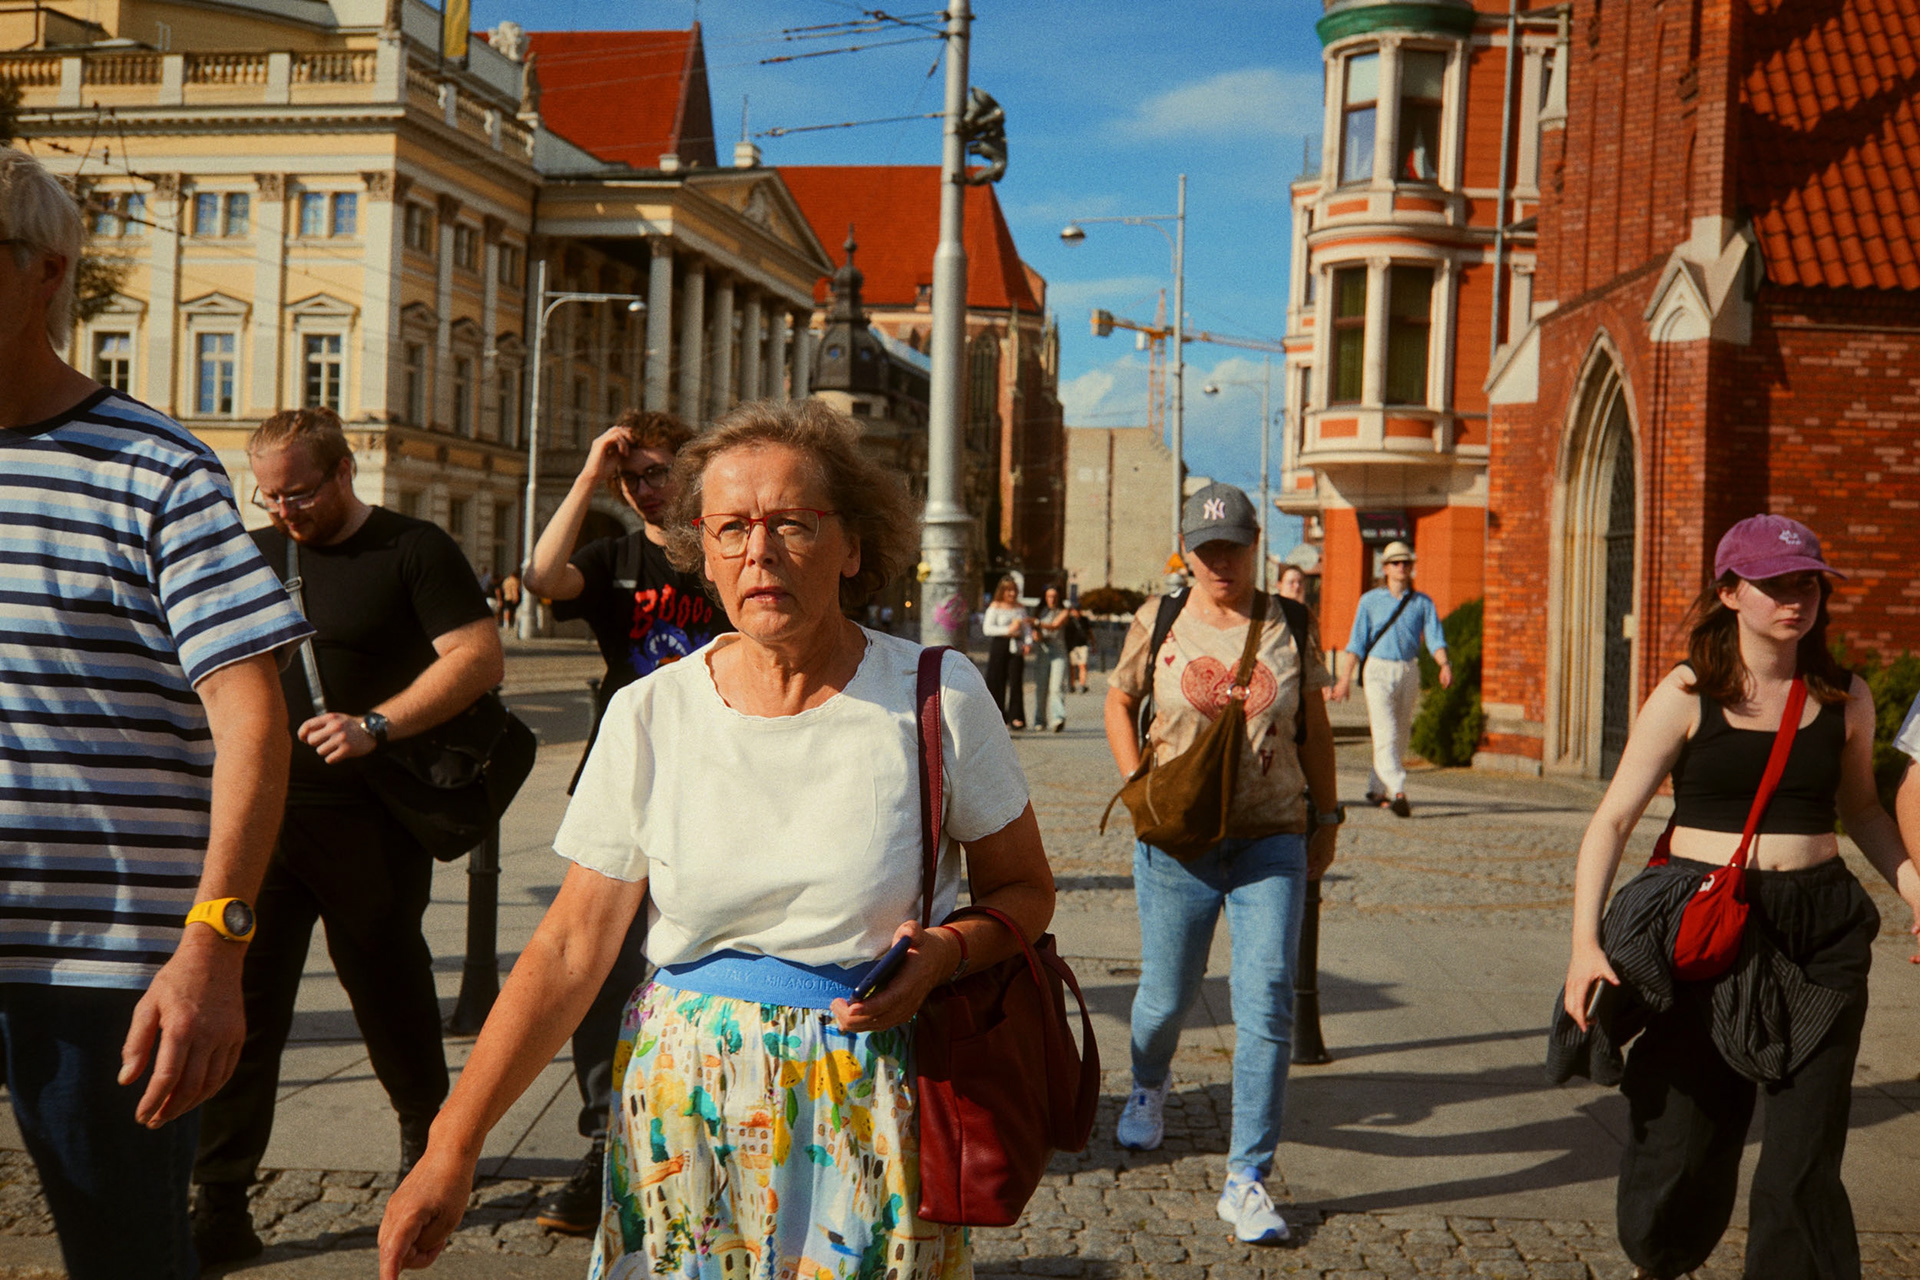
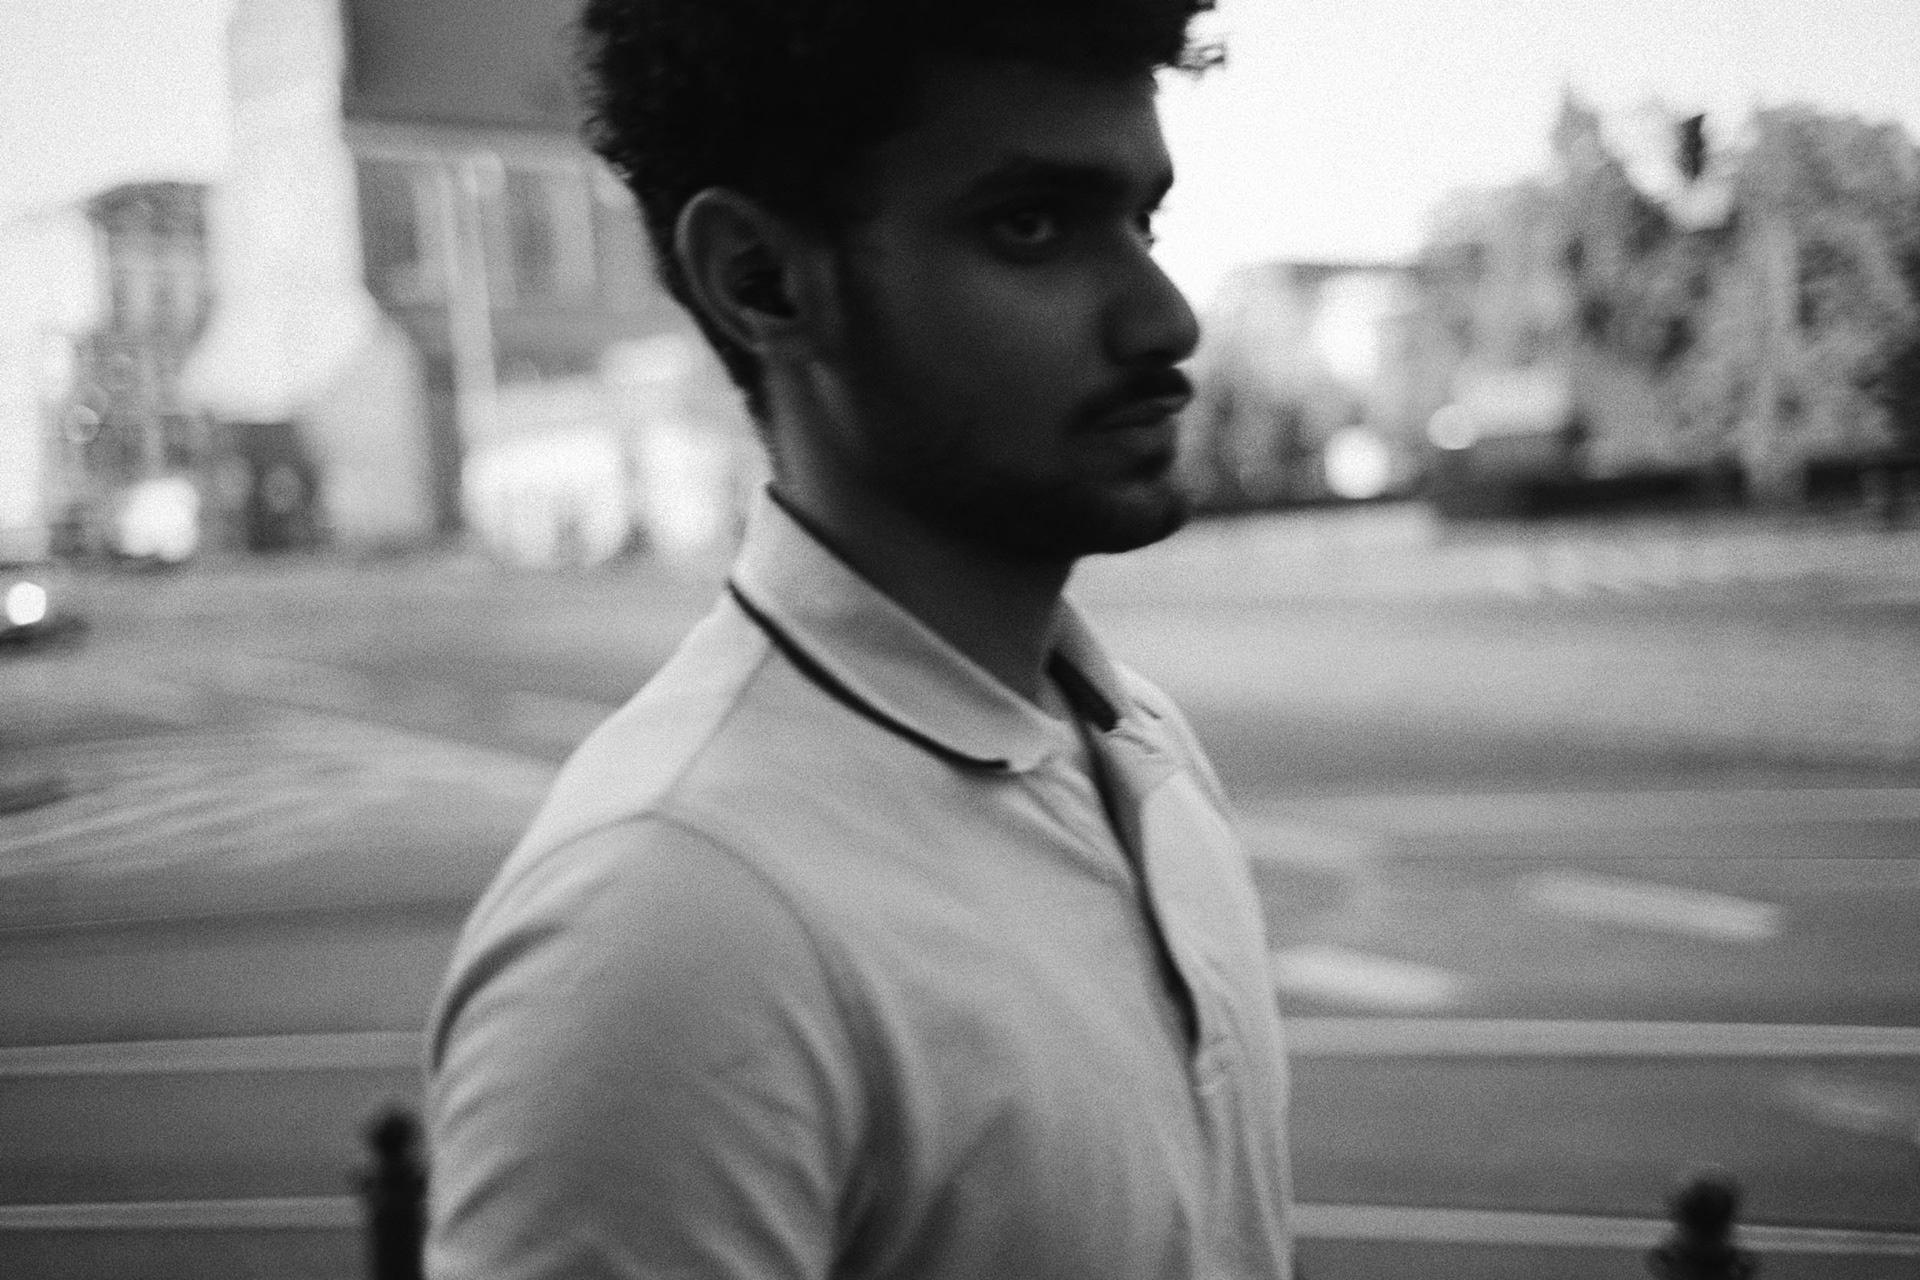
Shot on A7C + Voigtlander Septon 40 / Chest level photography
Shooting at chest level is used very commonly and for many journalists and documentalists is considered the most effective technique.
It simply means you have to take the photograph while holding your camera at the chest level, just below your head.
What is important is that this technique is pretty useful when you are using something like 28 to 40mm. This way you will get the fov similar to what you are seeing before you.
Street photography is often happening fast so point and shoot is one of the best way to do it.
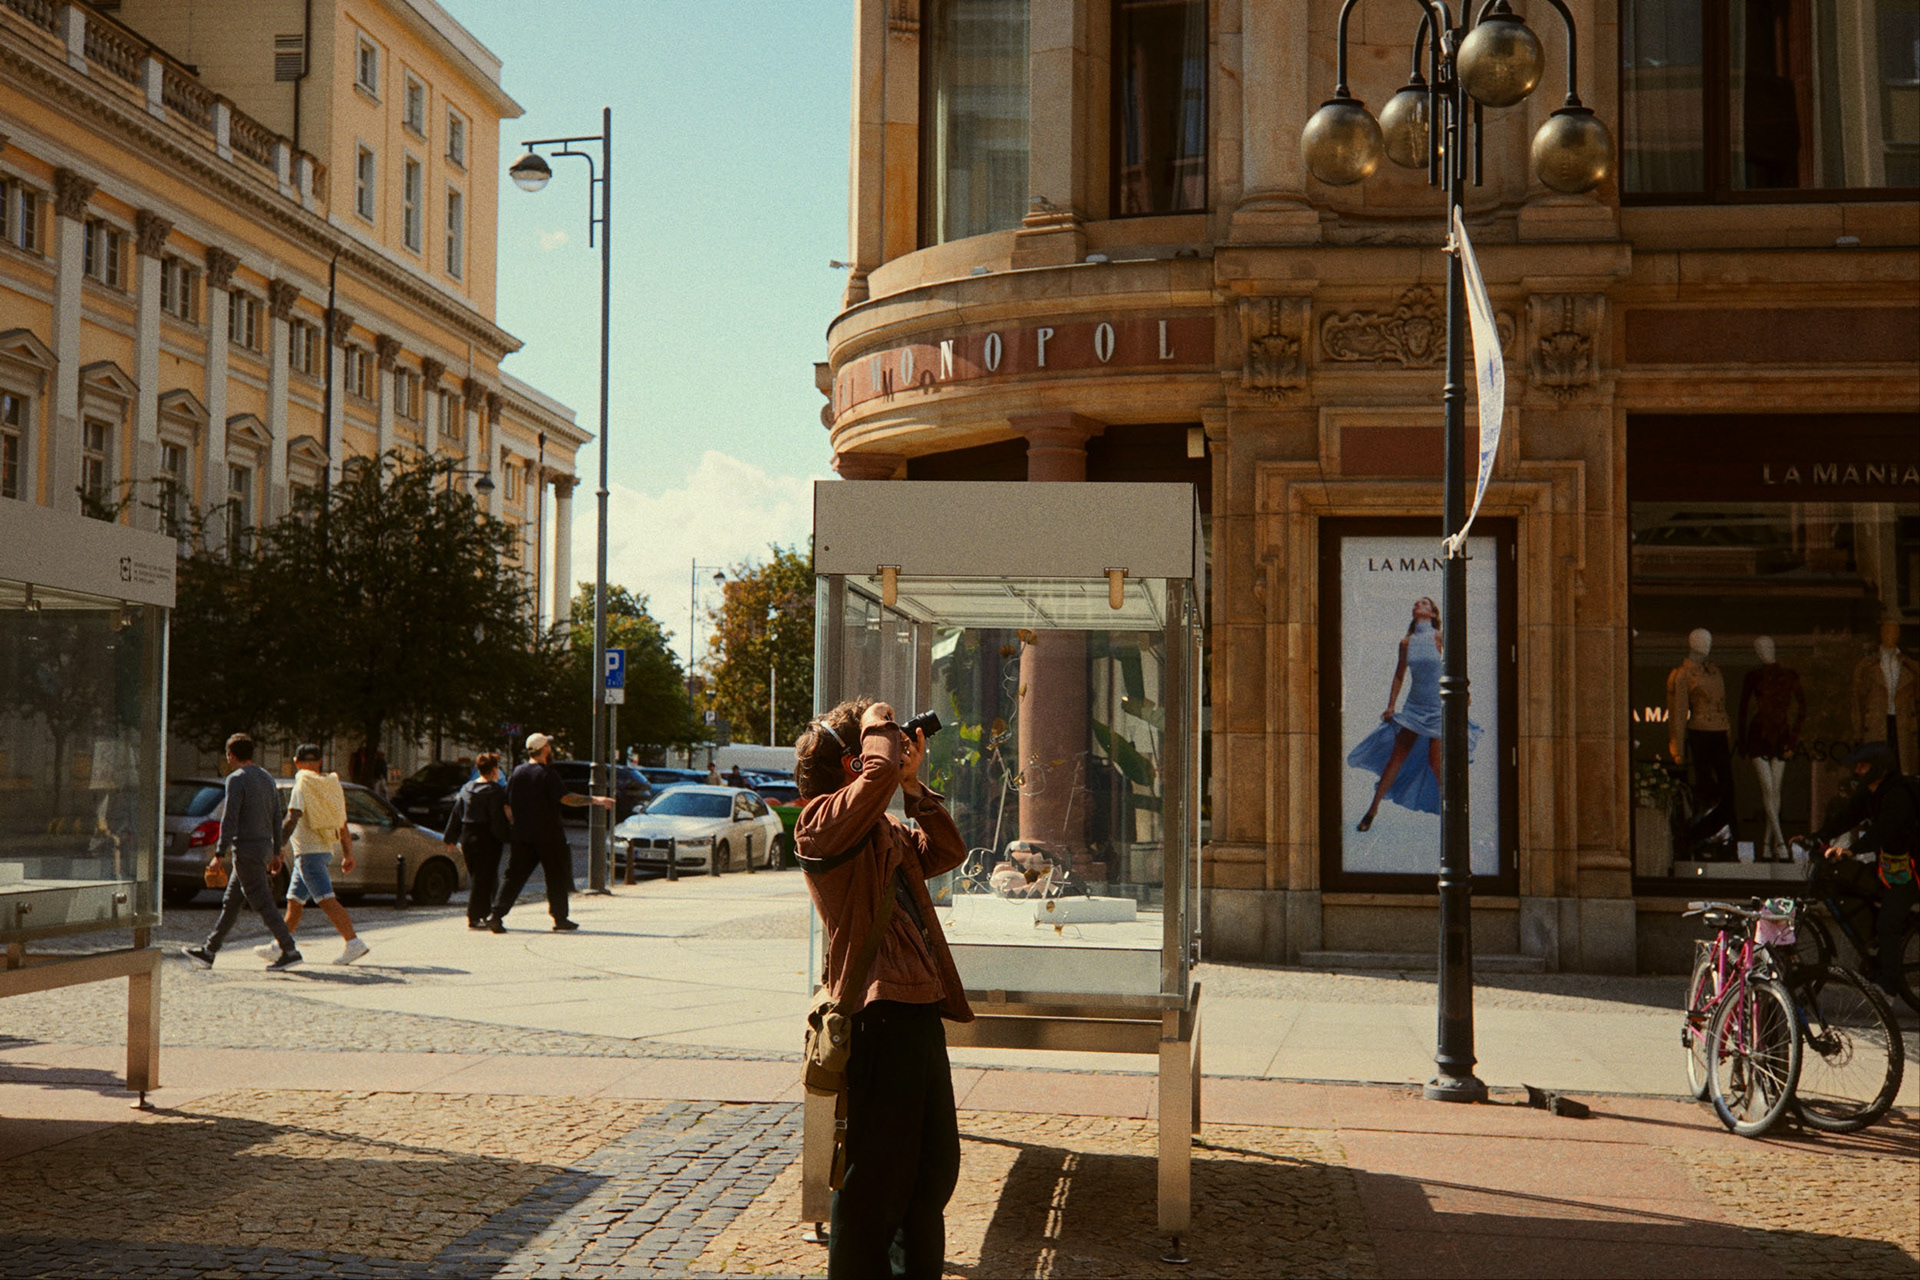
So how I do it?
Right now I am using 40mm lens, which is the Septon 40 f2, but you can use any lens that is between 28 and 40mm, and has the focus ring, cause you need to turn your camera into a point and shoot.
I personally like to set the aperture to f8 or f/5.6, but you need to find your sweet spot of the lens you’re currently using. Then you need to set your focus depending on the zone you are aiming for. For me in this case it’s around 2m. This may vary depending on the focal length you’re using. For 28mm it will probably be something around 1m and for 35mm like 1.7m.
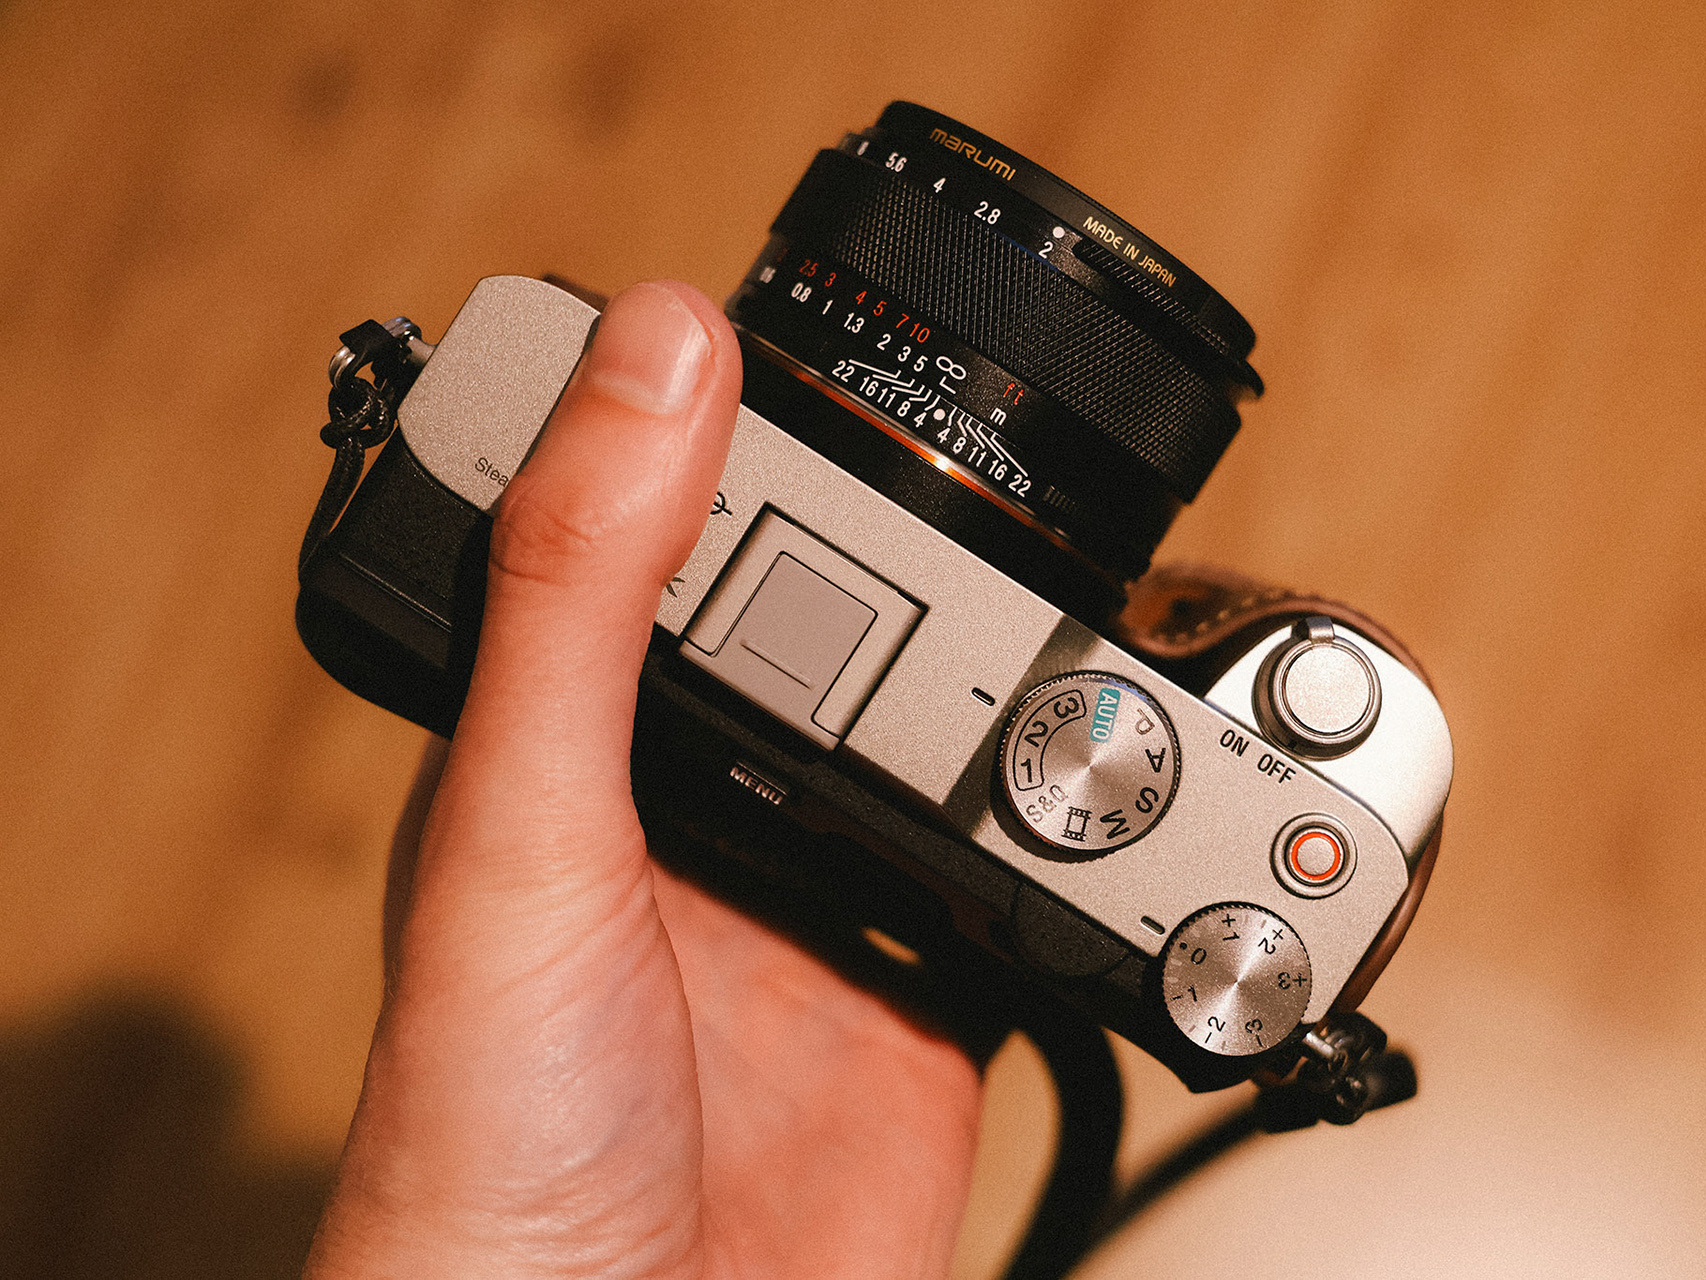
You can read your distance from the lens’ focusing scale or from the camera if you’re using lens with electronic contacts.
The focusing scale is a useful thing, because you can read your depth of field according to the set aperture.
If I am using F8 and set my focus to 2m, it tells me that at 2m the subject is going to be razor sharp but the useful focus extends to a range which in this case is from around 1,5 to almost 3m. This gives you the idea of how much distance you can work with.
Of course this may not be precise if you are using an adapted lens on your mirrorless camera, like a classic voigtlander through a adapter ring. In this case you might need to do few test shots to find how the distance scale actually translates to the real distance.
Once you get comfortable with the focus zones you can try photographing test subjects on the street, like posts, cars and other static things to see if you can feel the distance and be able to to push the shutter at the correct spot.
It’s actually pretty easy and you will probably get quite familiar with how it works really fast.
And once you’ve got it figured out, the real fun begins. The streets are waiting.
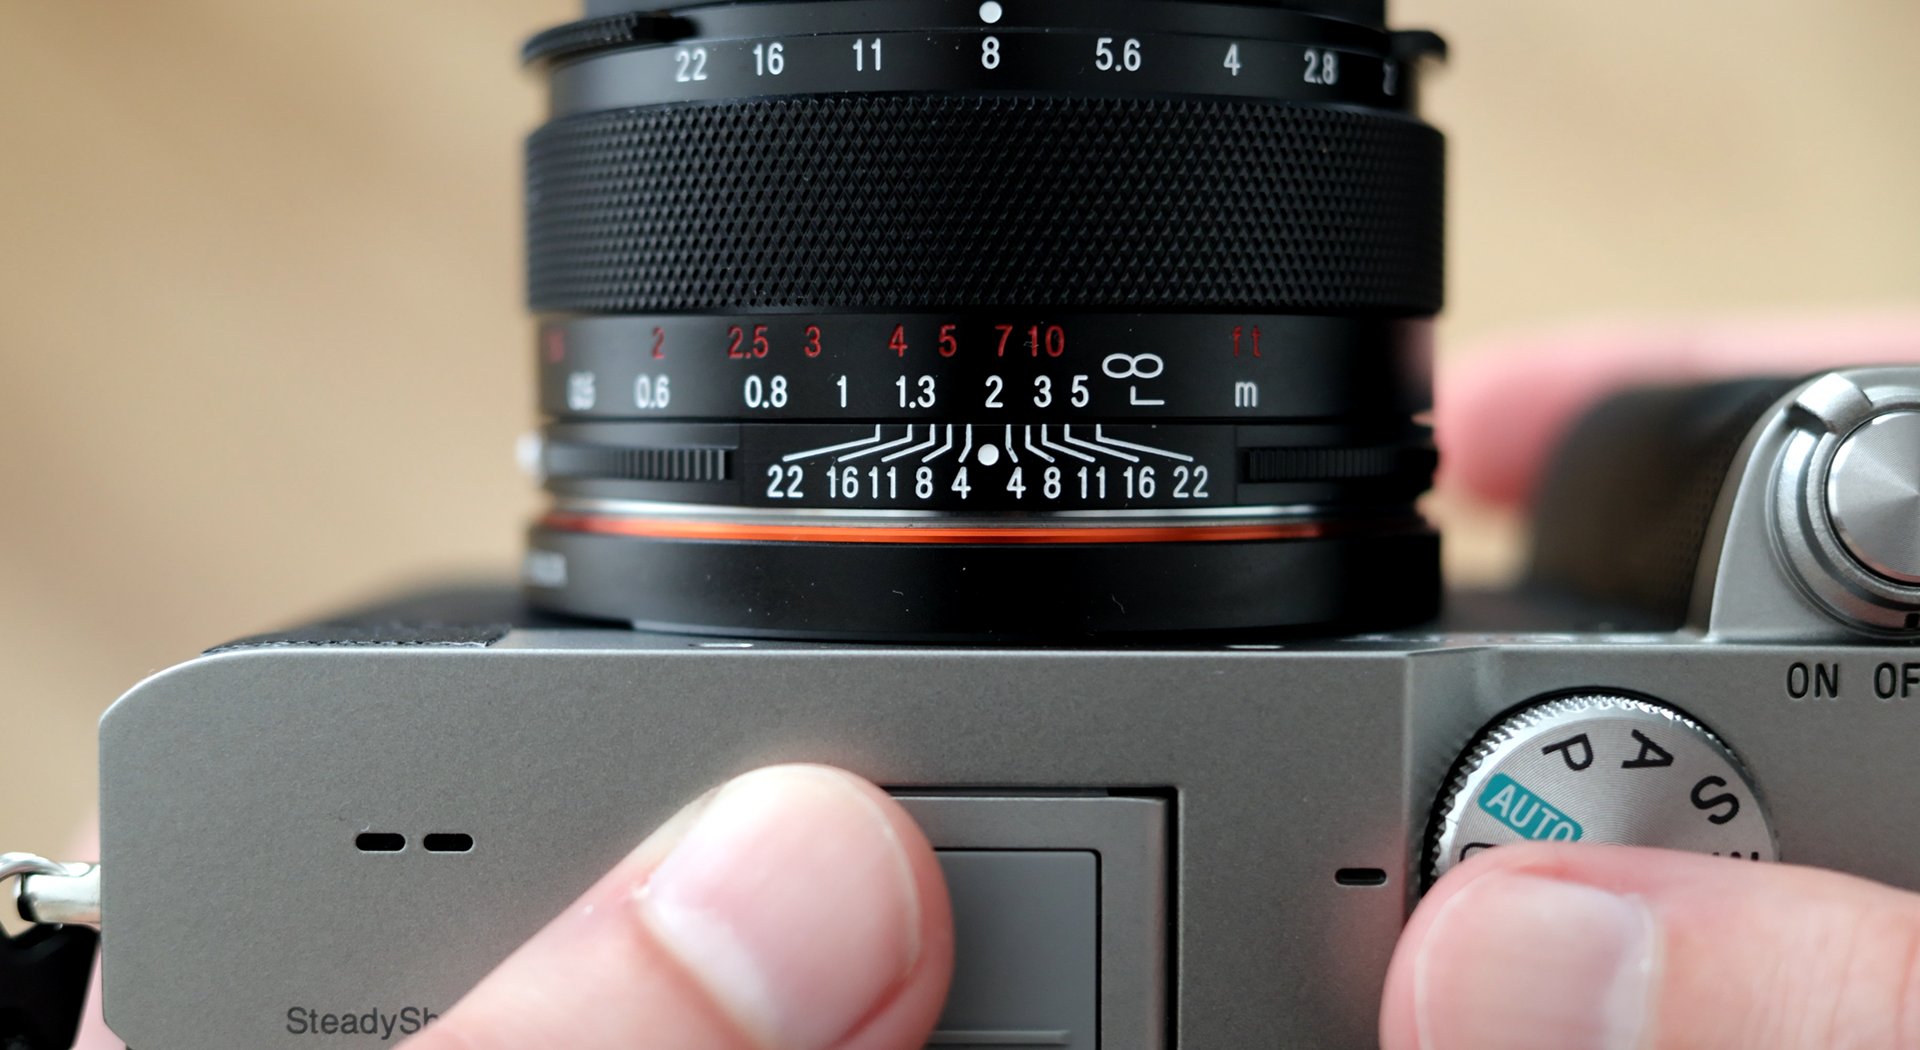
Voigtlander Septon 40 1:2 / Zone focus setting @F8 - acceptable focus zone indicated by scale is between ~1.5m and 2,7m with point focus @2m
If you want to be more stealthy you can use the silent shutter, but when on the move I suggest using more of the mechanical shutter to avoid distortion and rolling effect. This will render the more natural image and pleasing blur effect on moving subjects.
So just snap an image and move along.
I personally set my shutter speed at 1/80 and iso at auto. The 1/80 helps to maintain the slight movement blur and make the image more film like, but you can use your own preference and use faster shutter speeds for more frozen images.
I think this technique helps you get more personal with your subjects. Get closer to action and thus make the pictures more immersive and captivating.
Hopefully later on I will be able to be more direct with shooting at eye level to be able to improve the framing. But chest level makes you witness scenes without being noticed and capture the uninterrupted frames more easily.
I hope this will help you get into this kind of photography and if you did.
Keep on shooting. Cheers!
(full video on my YT channel)
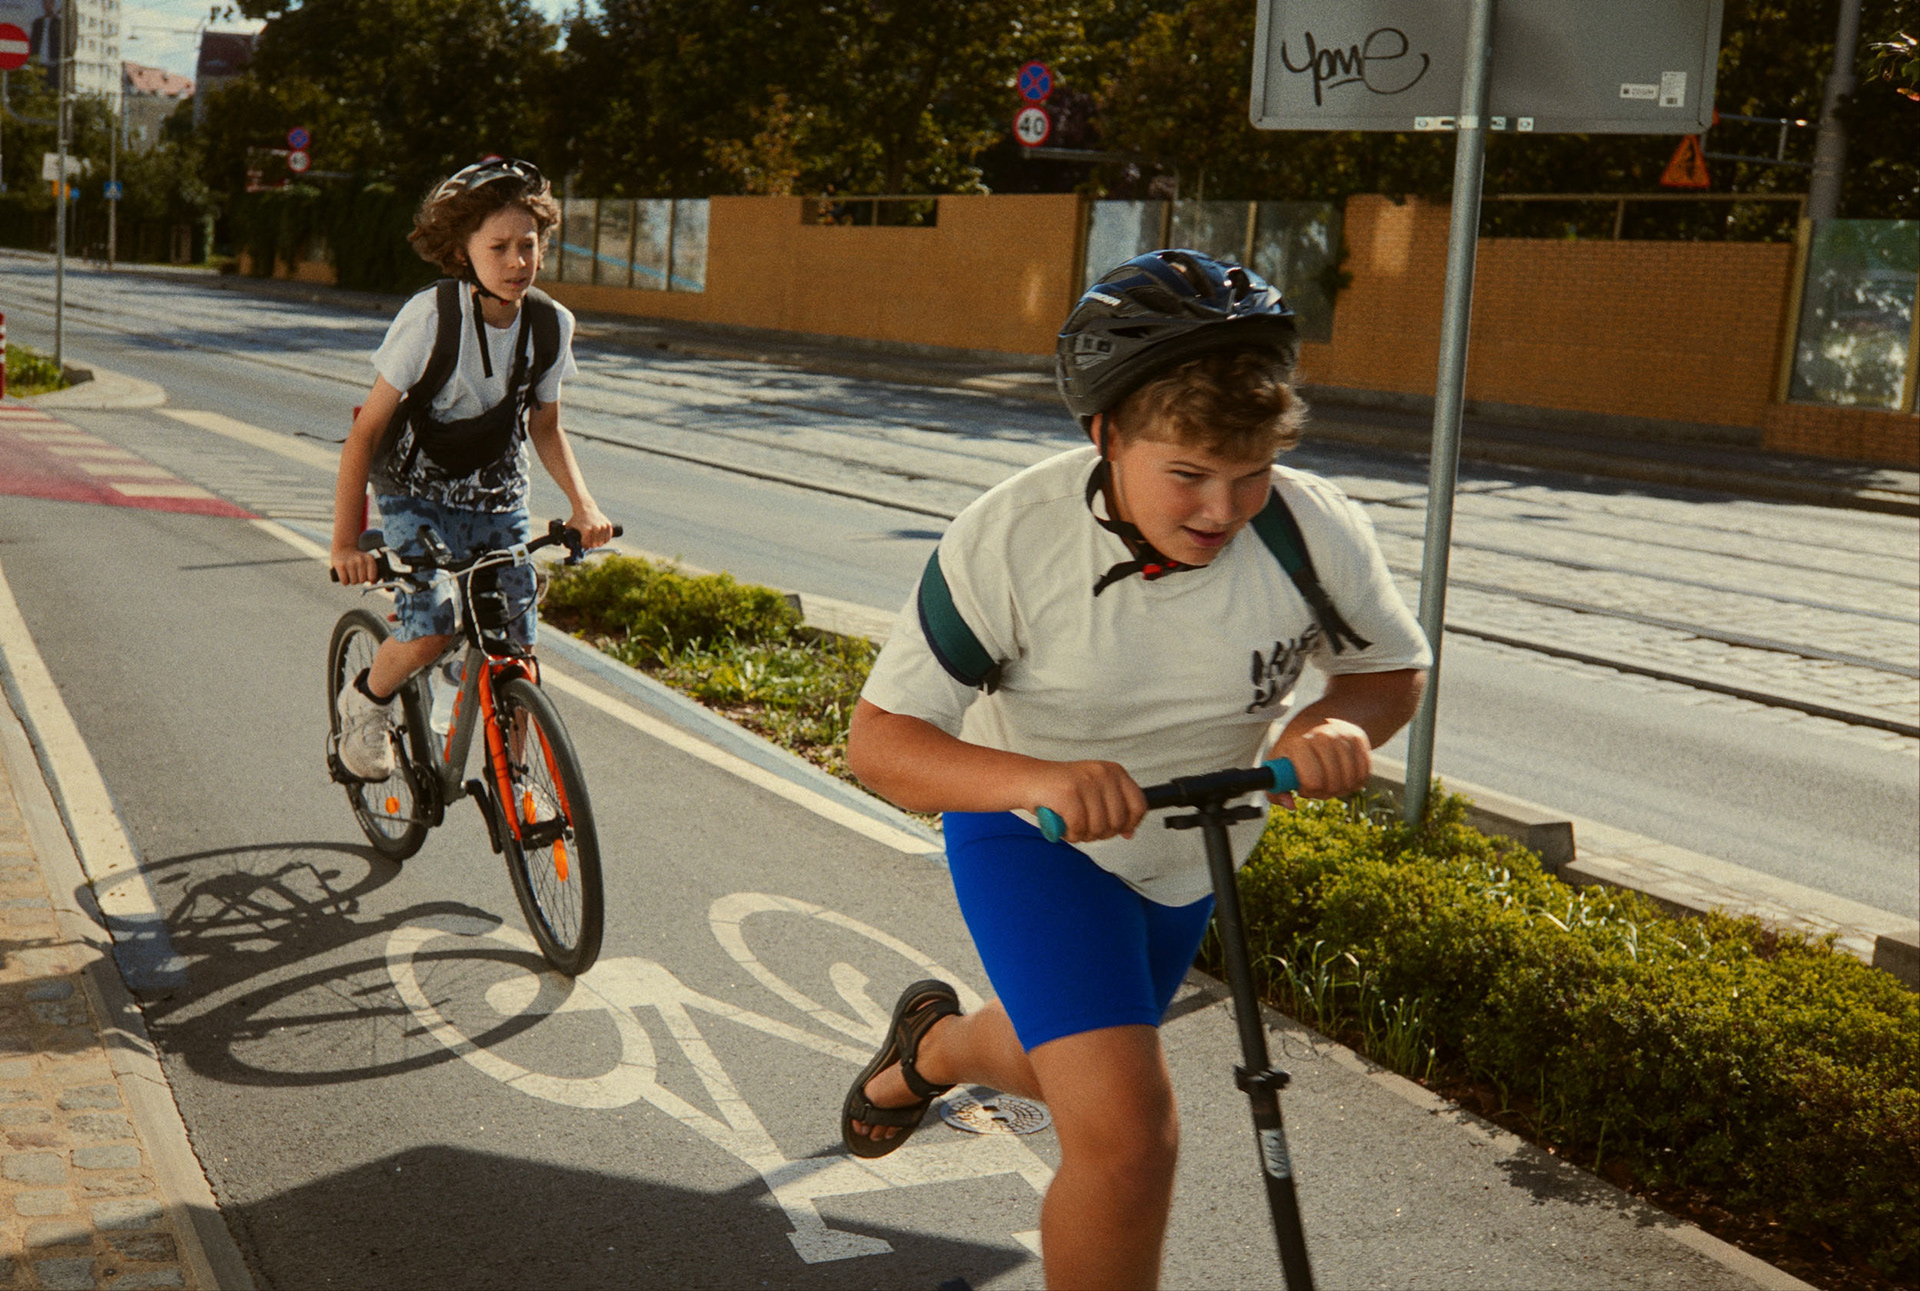
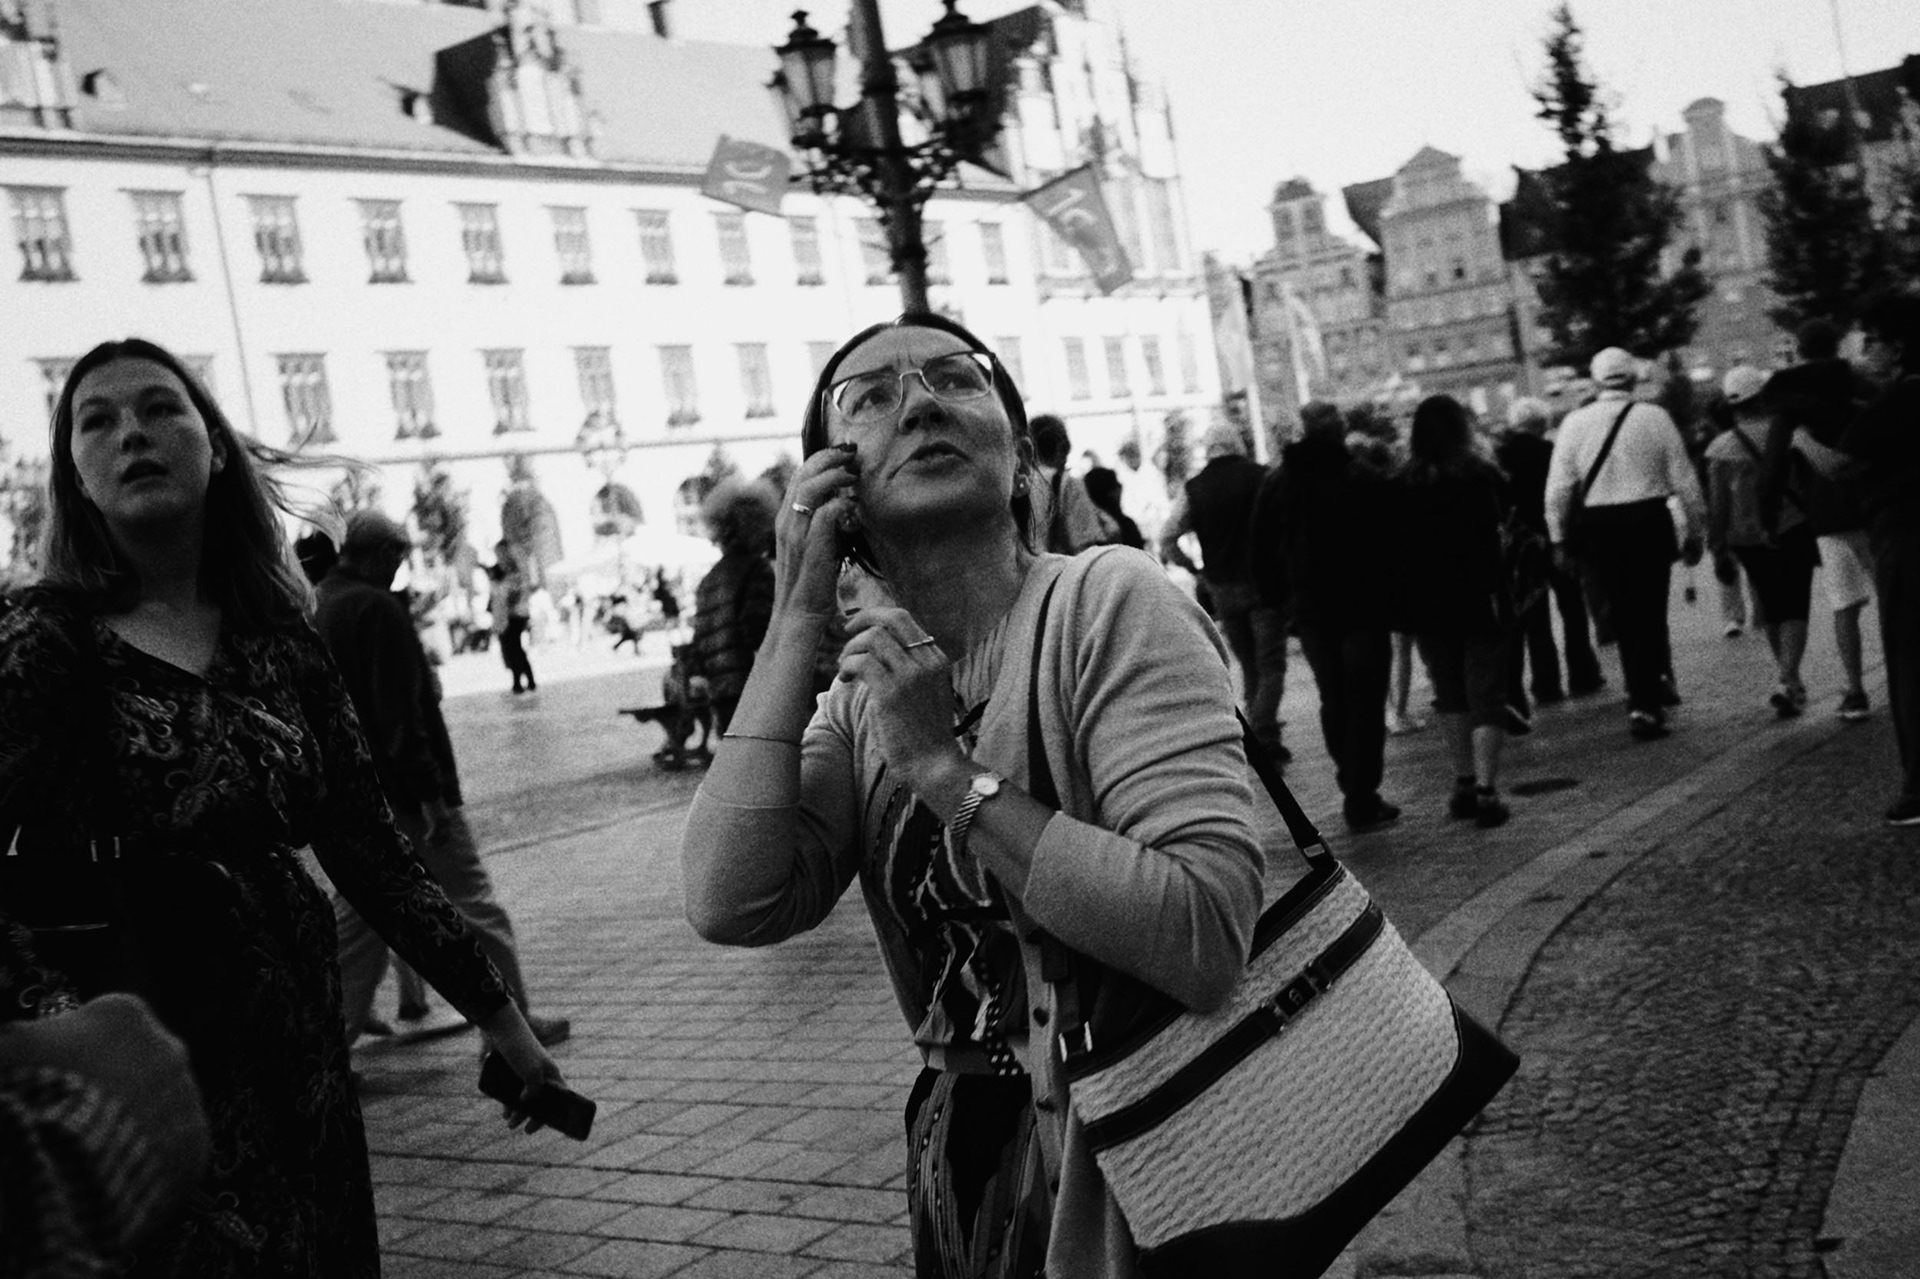
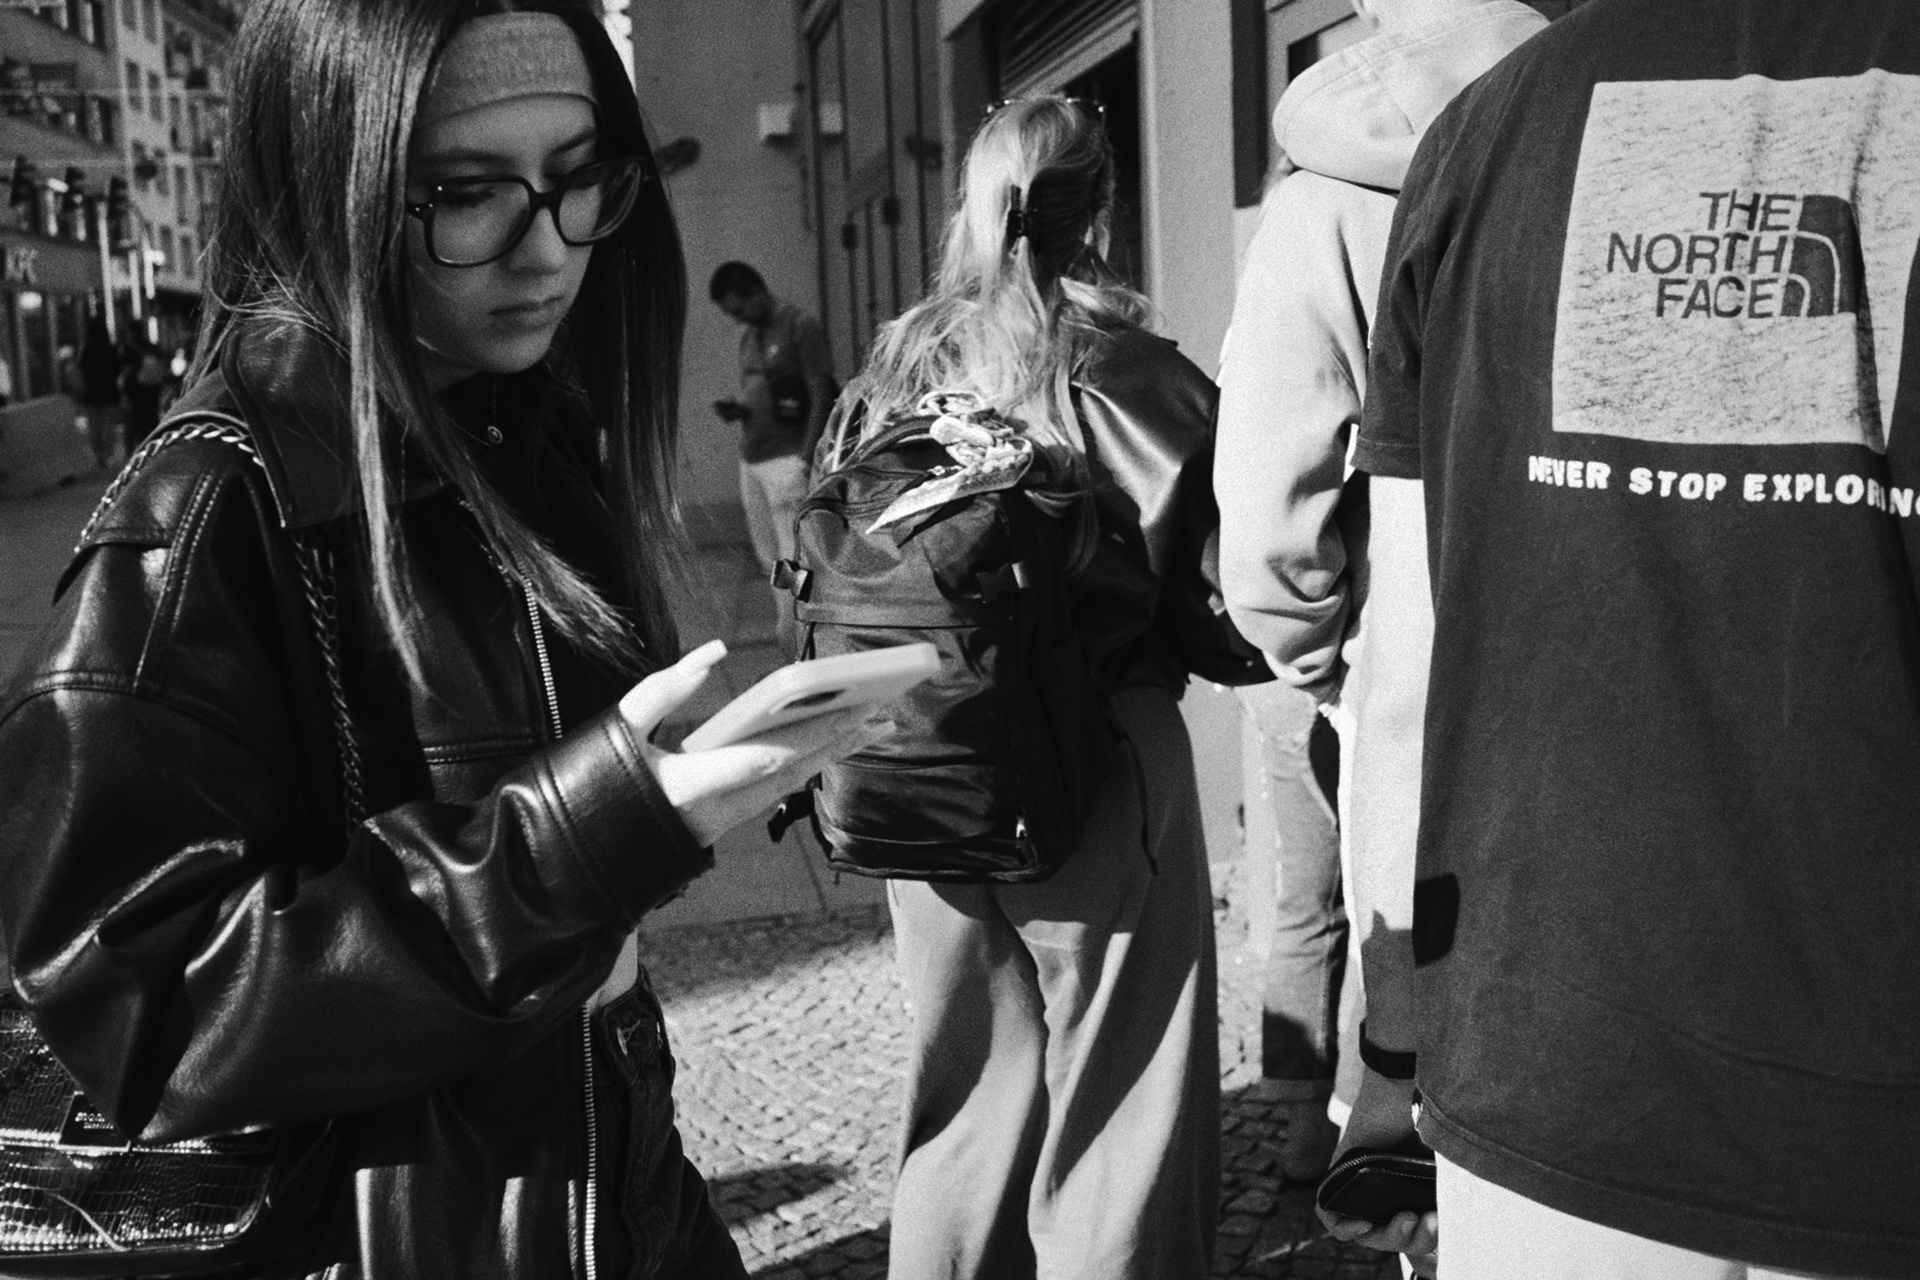
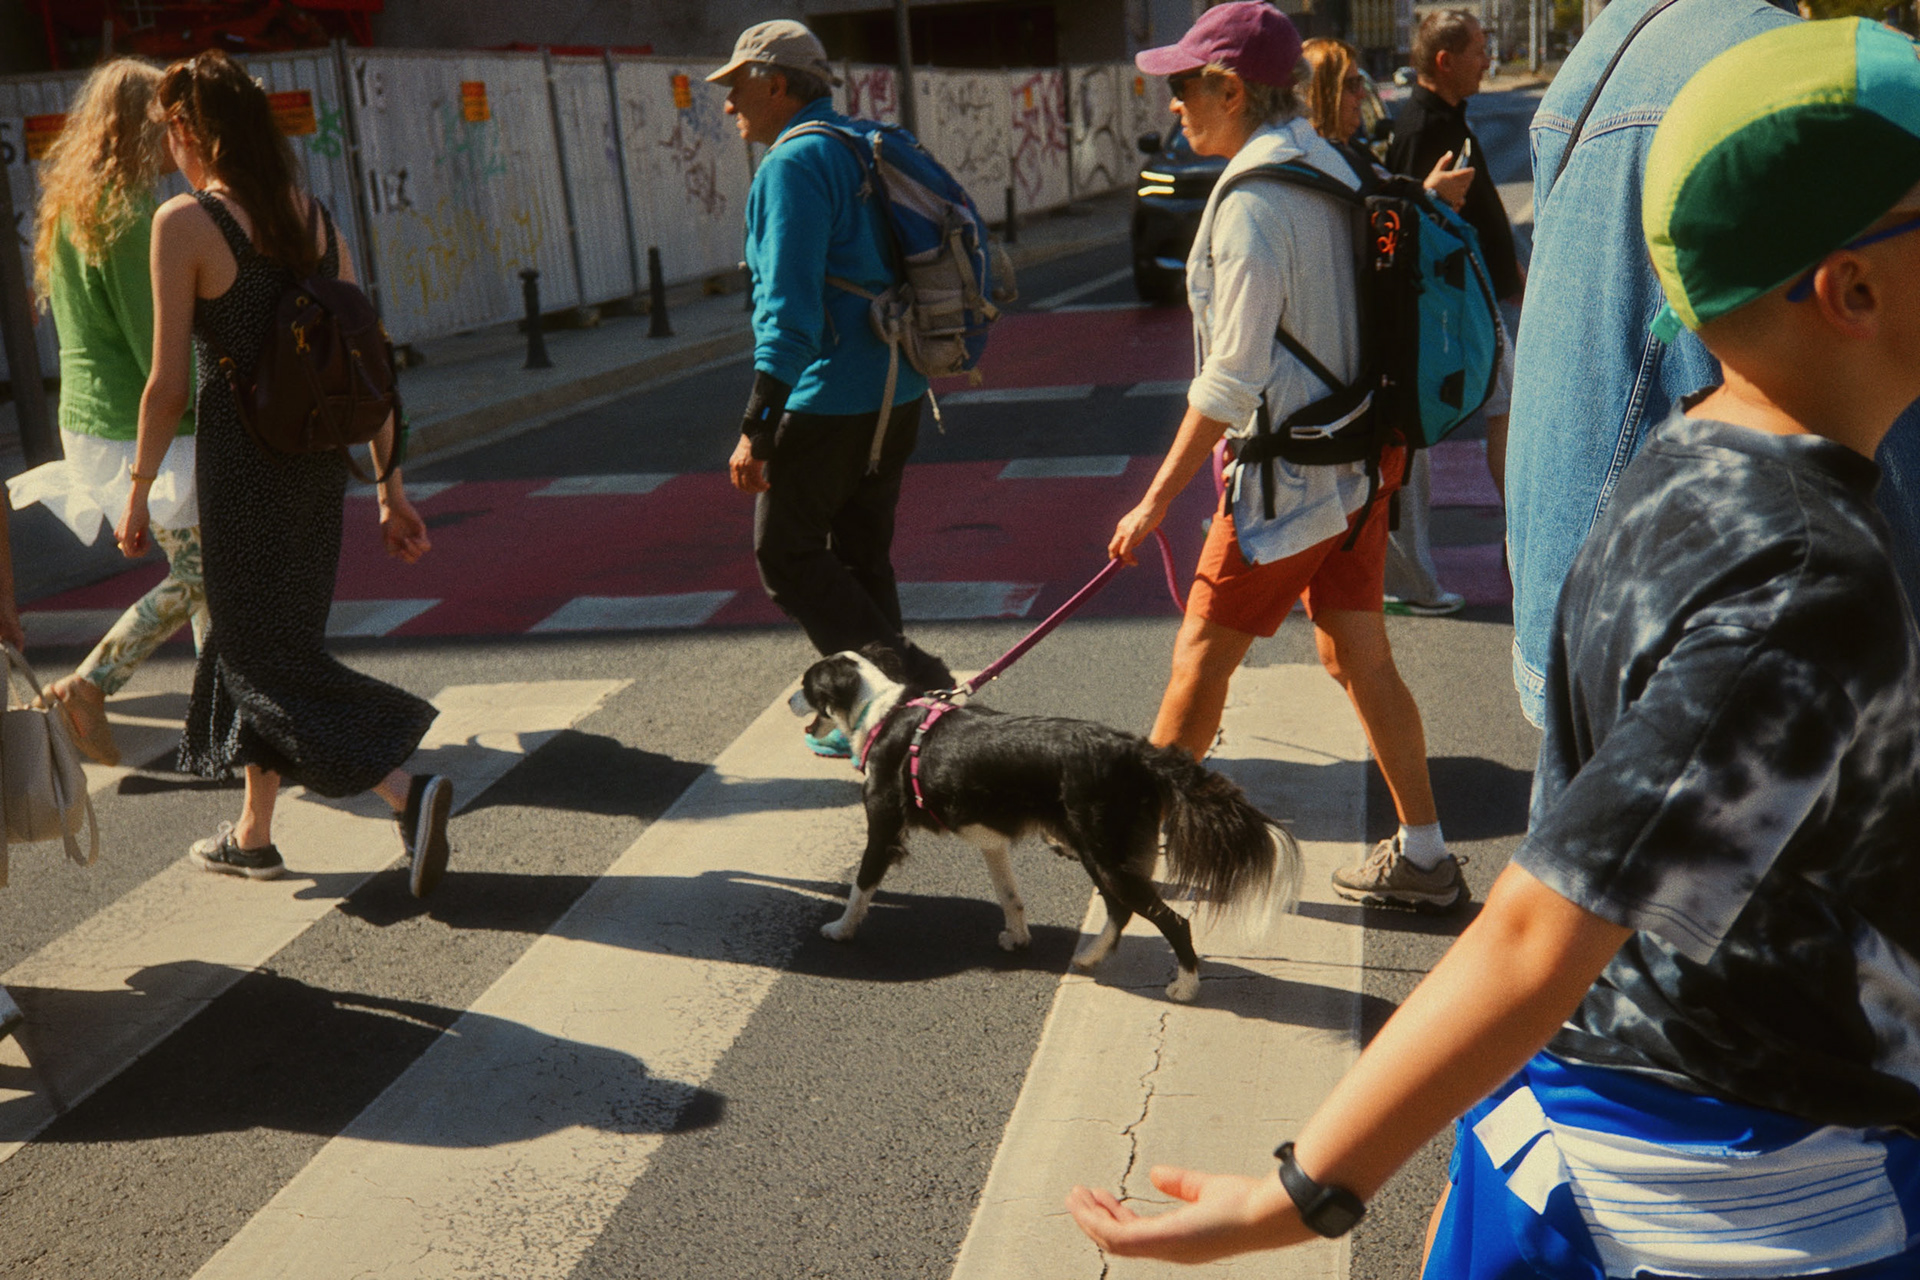
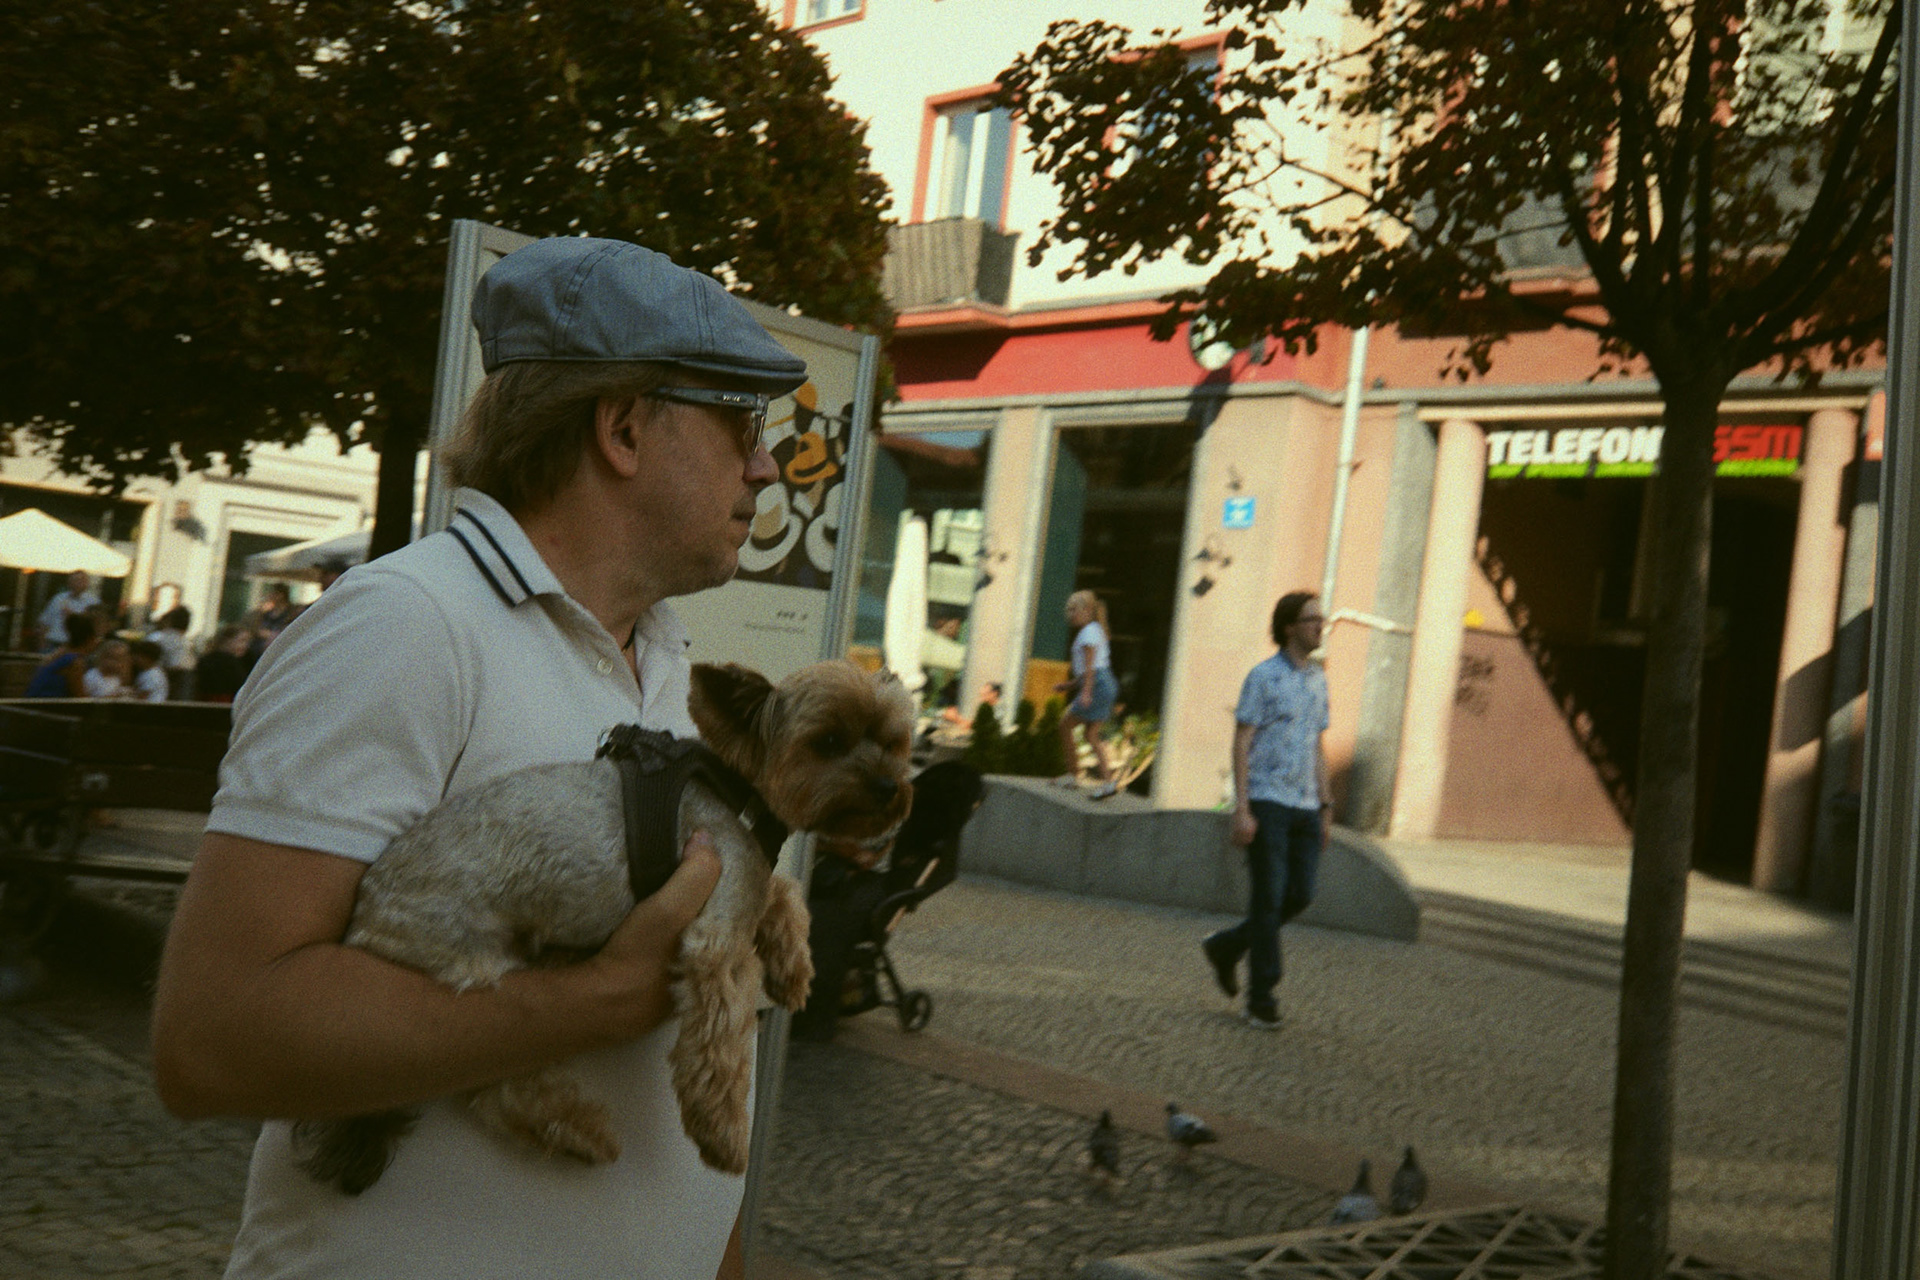
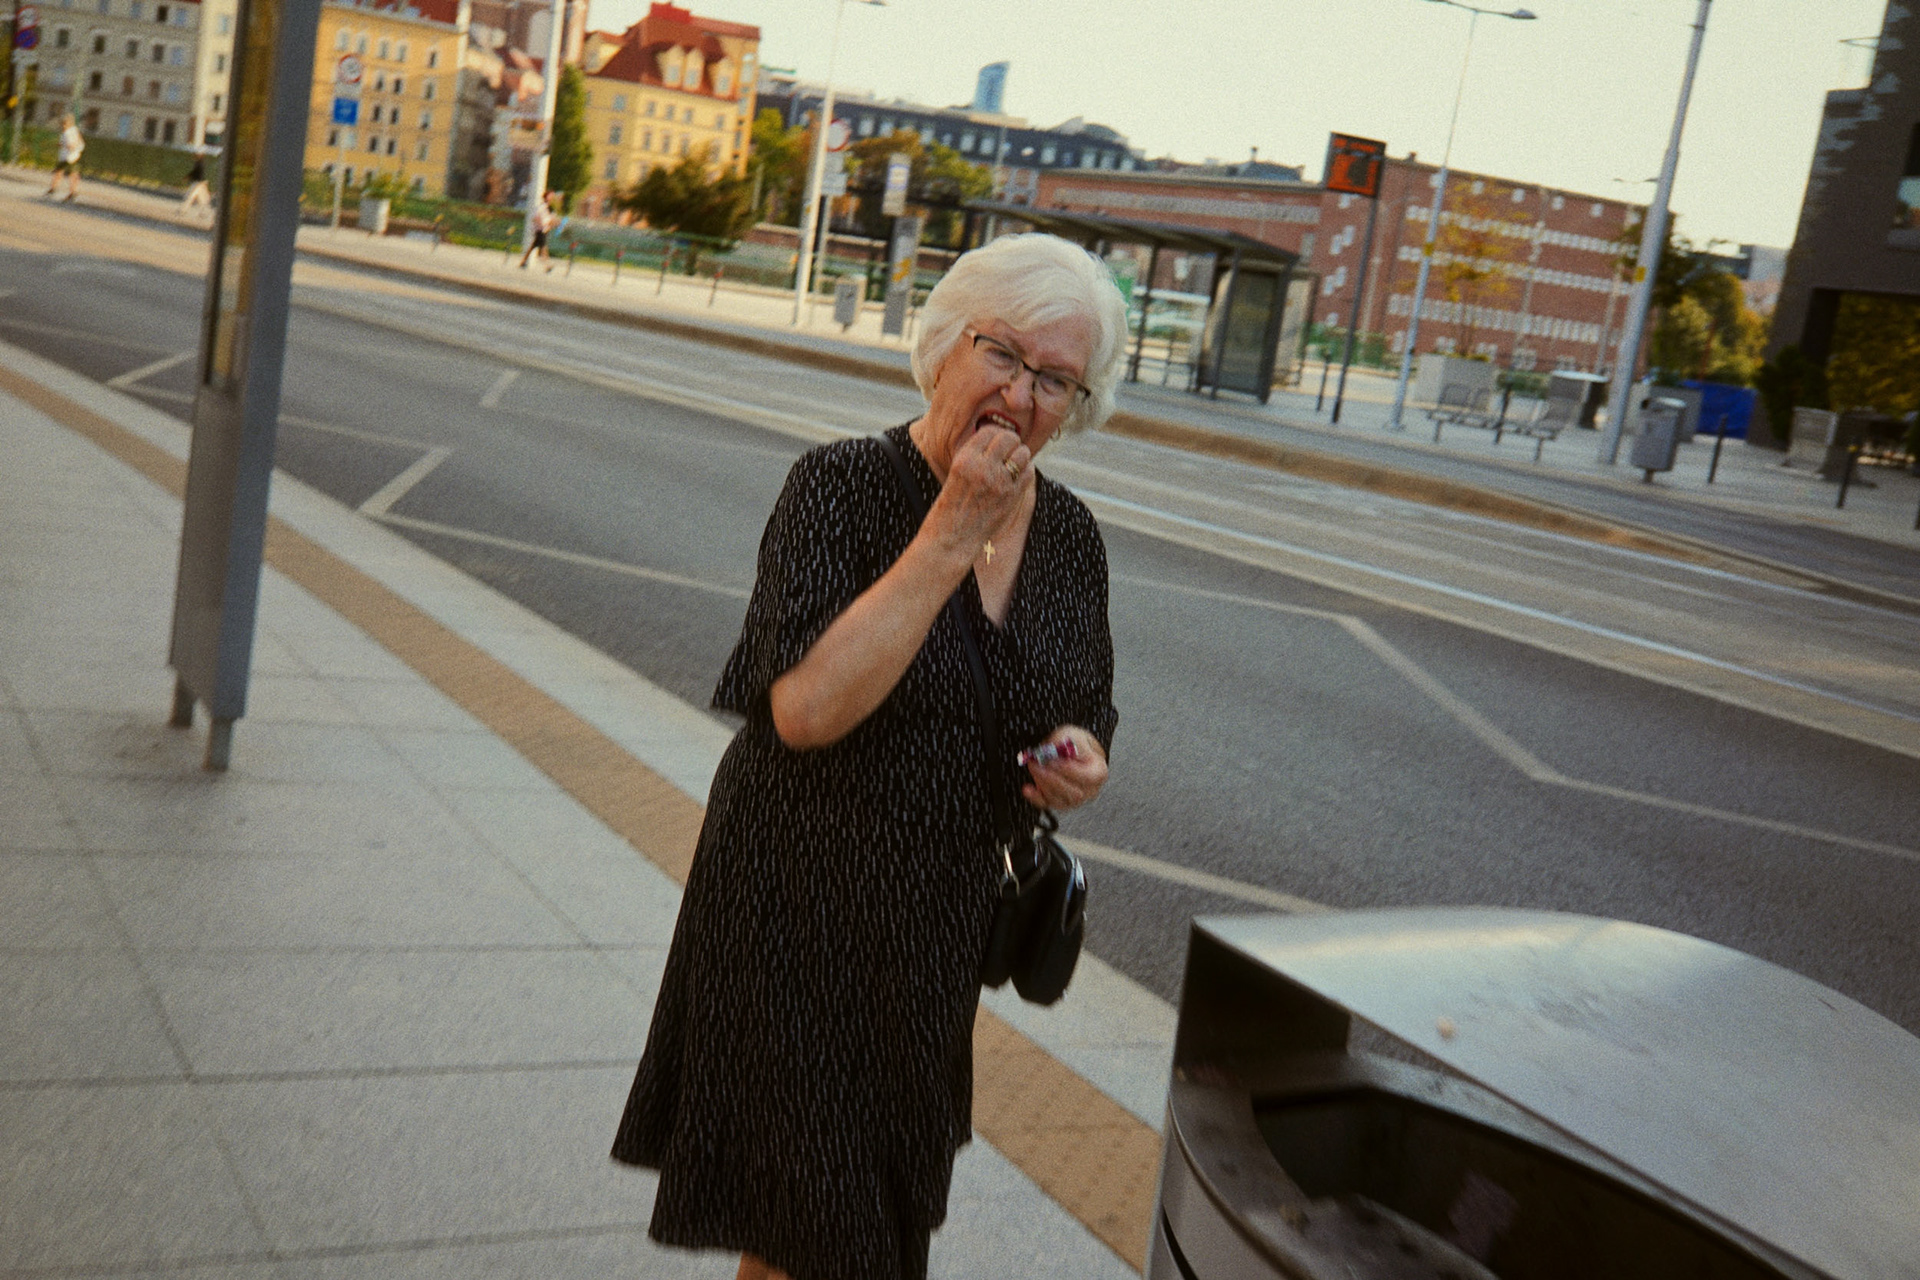
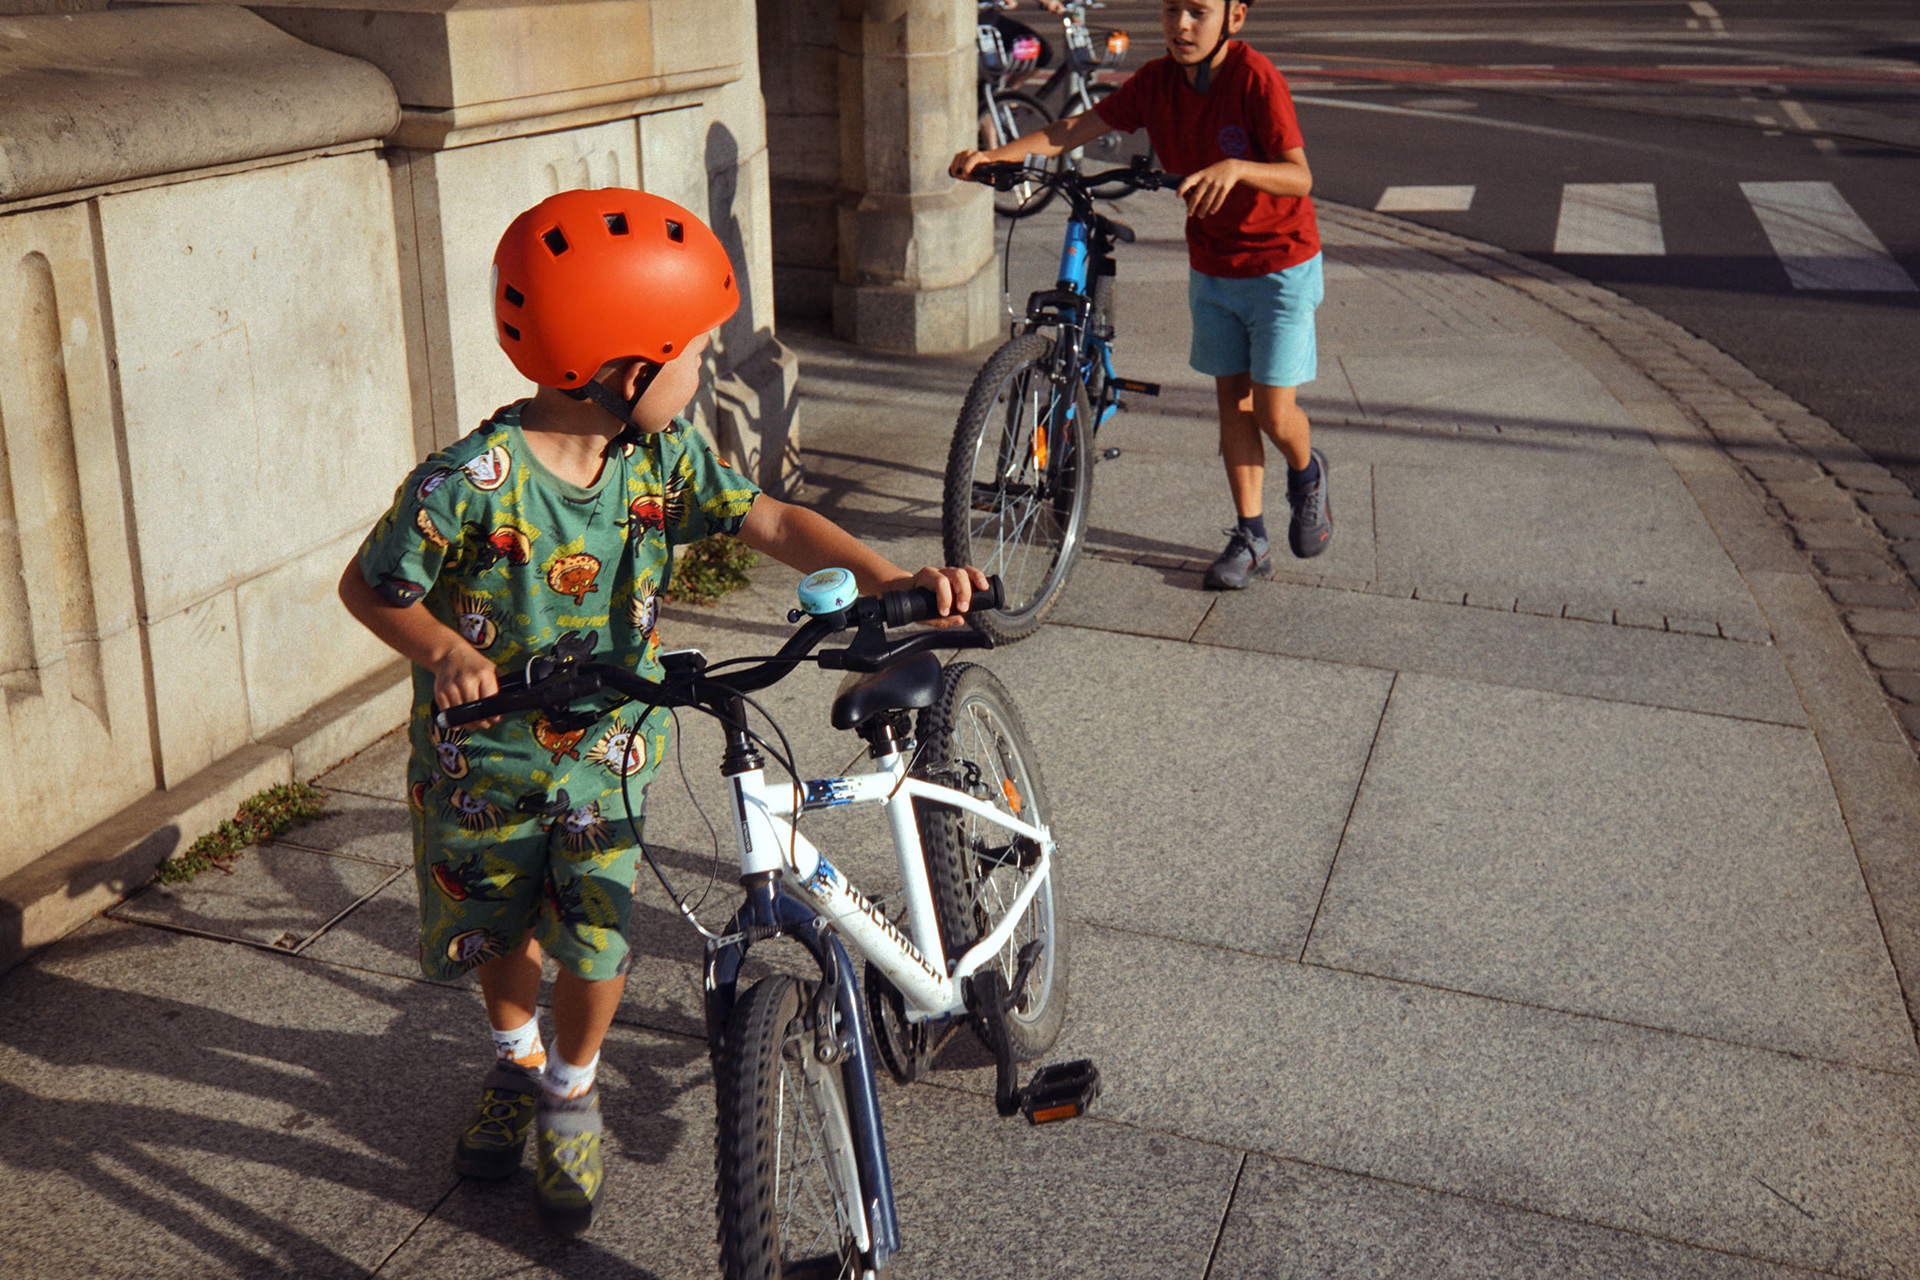
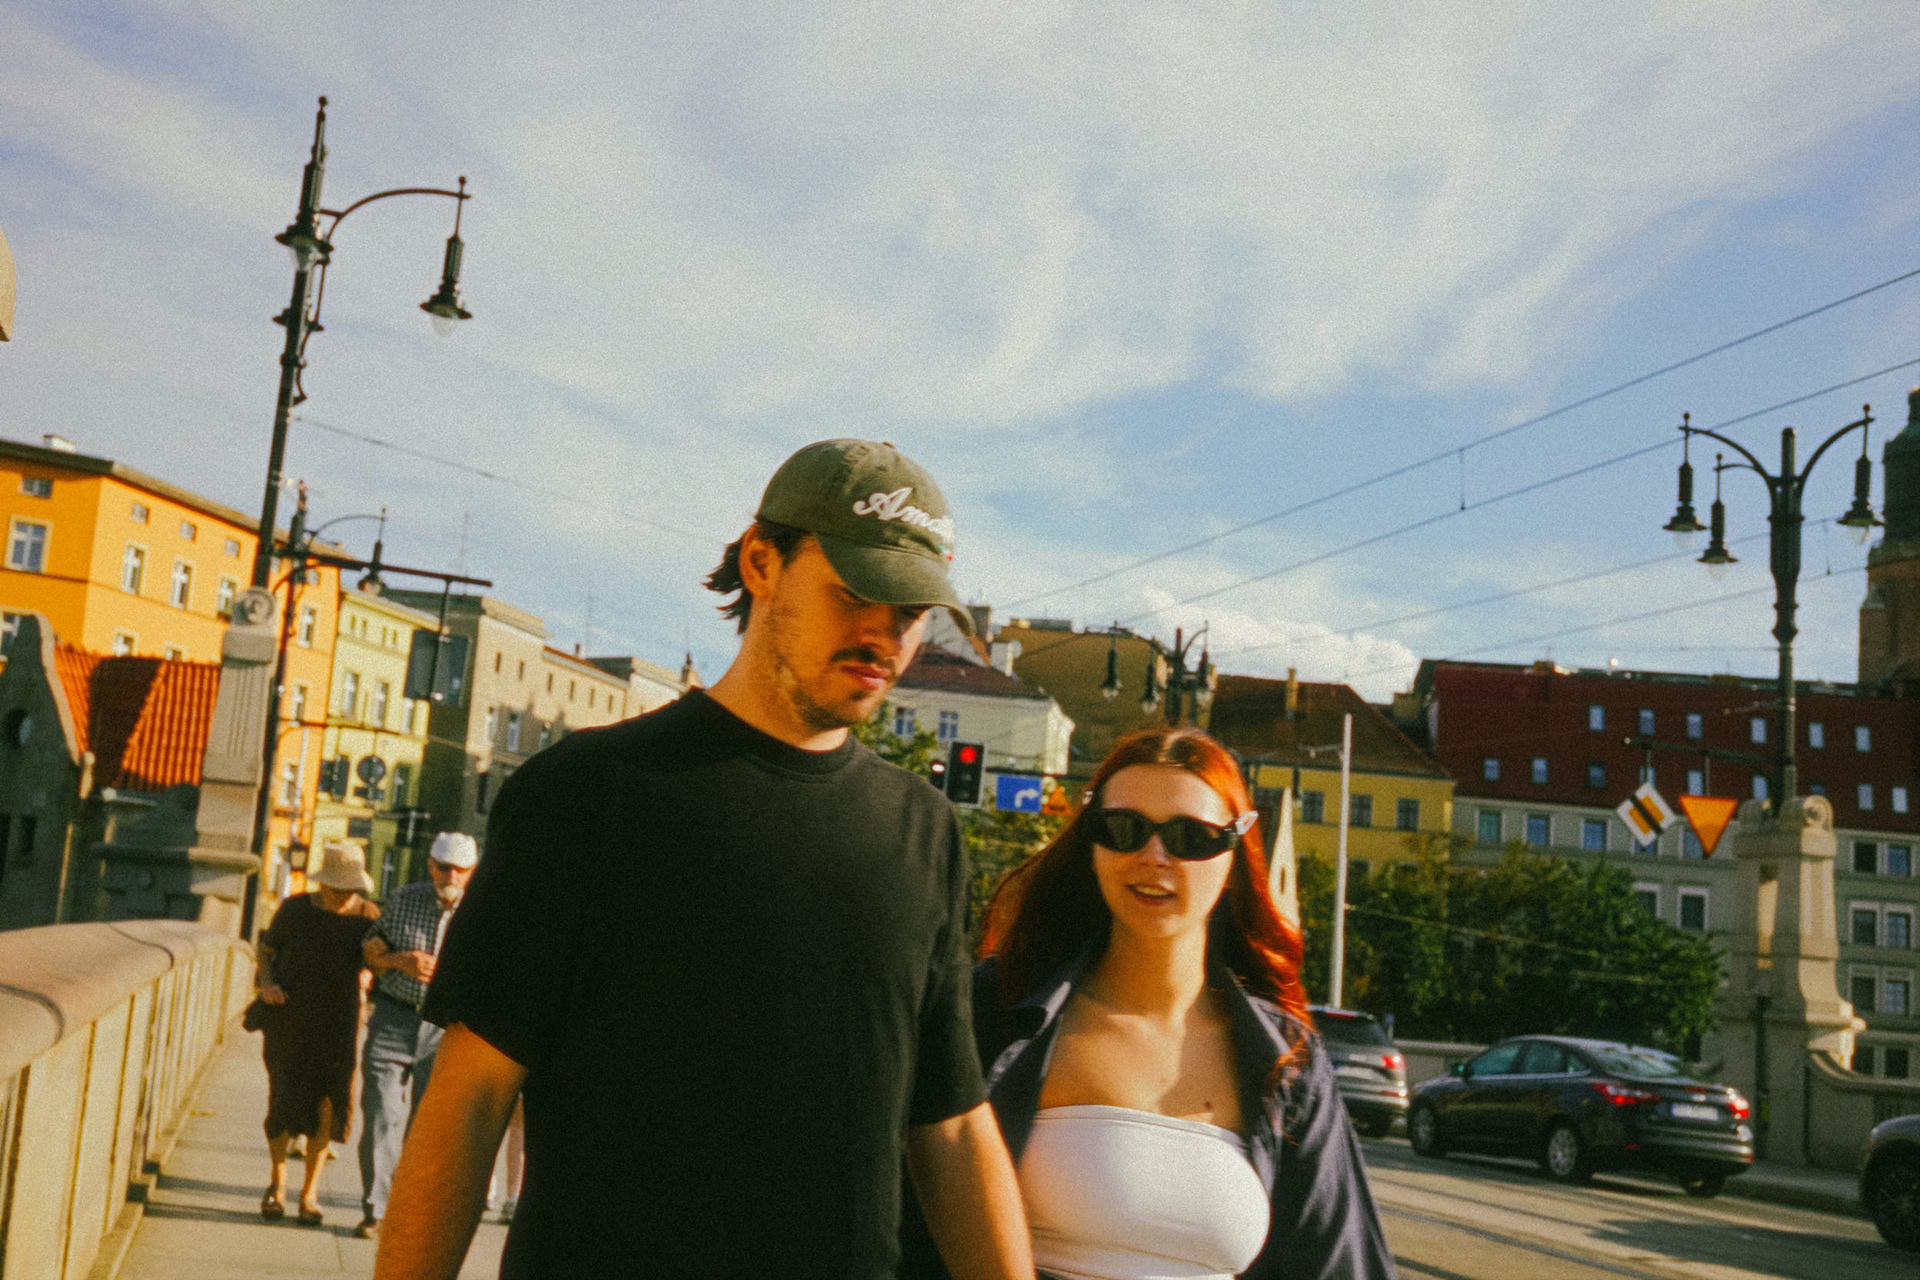
Chest level street photography images I shot with this technique